|
|
Post by evanta22 on Sept 1, 2013 4:01:07 GMT 10
I have had this Celica now for over 15 years. I have always wanted one when I saw one in a car mag. So my first car was a 1973 Celica. Here is what it looked like when I bought it. 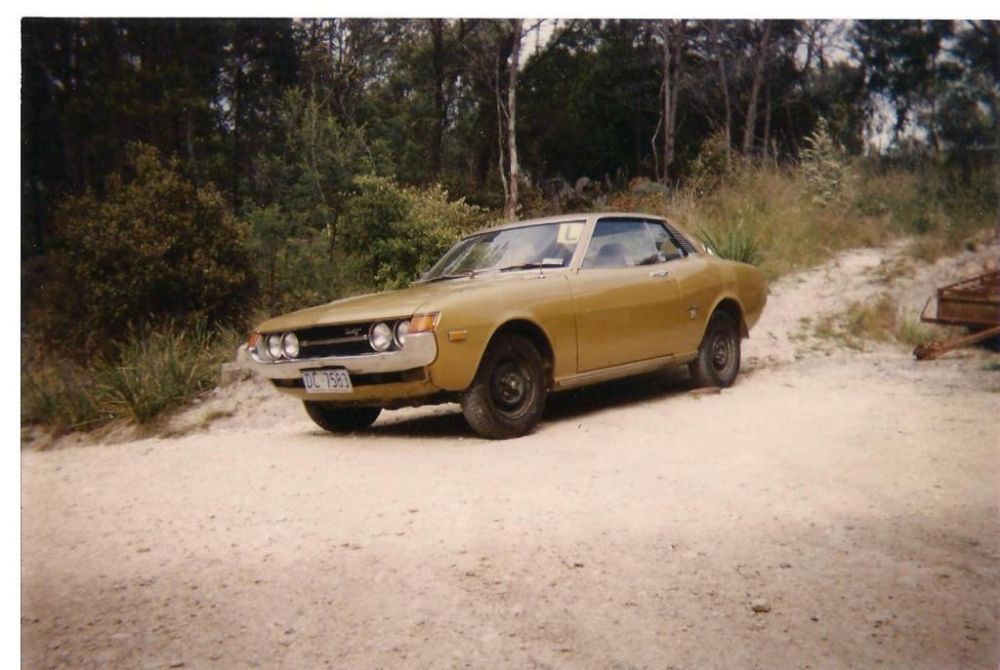 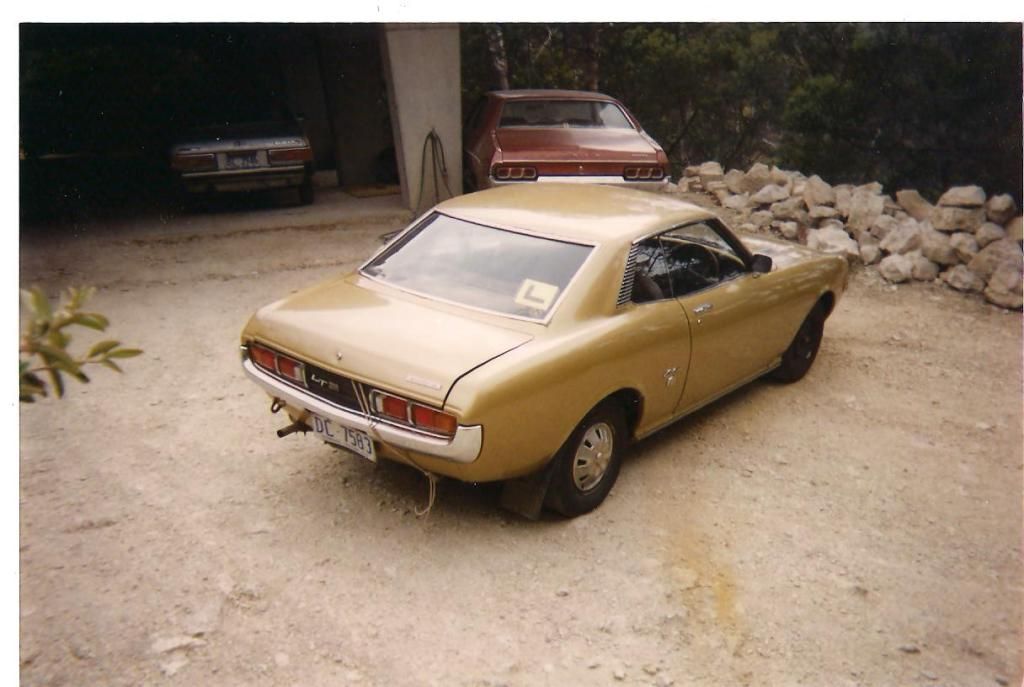 I drove it around like this right through my college years slowly modifing thing when they broke. Some of the thing I did was: Replaced the suspension rubbers with nolathan bushes Replaced original springs with Pedders heavy duty lowered springs and shocks cut out and replaced rusted panels around front and rear screens, both sills, behind both rear wheels, and the bottom of both front guards. Put second hand performance Challenger wheels on. The car was starting to lok respectable when this happened.... 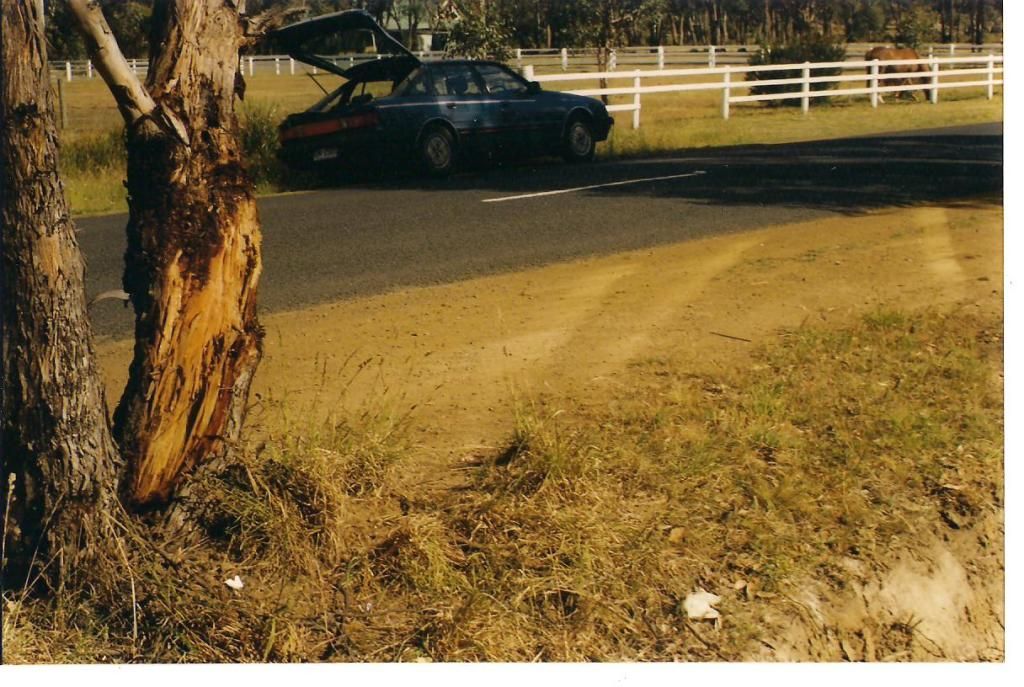 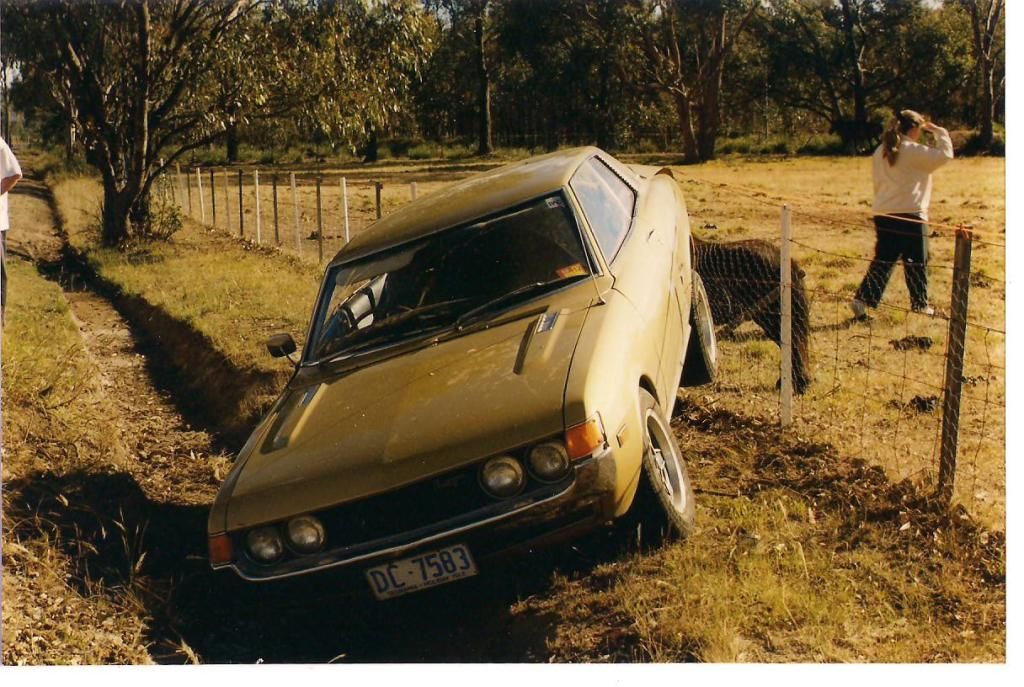 It doesn't look to bad from this angle but.....  This side it was a right off... So this started the hunt for another car. After several weeks looking this is what I found. 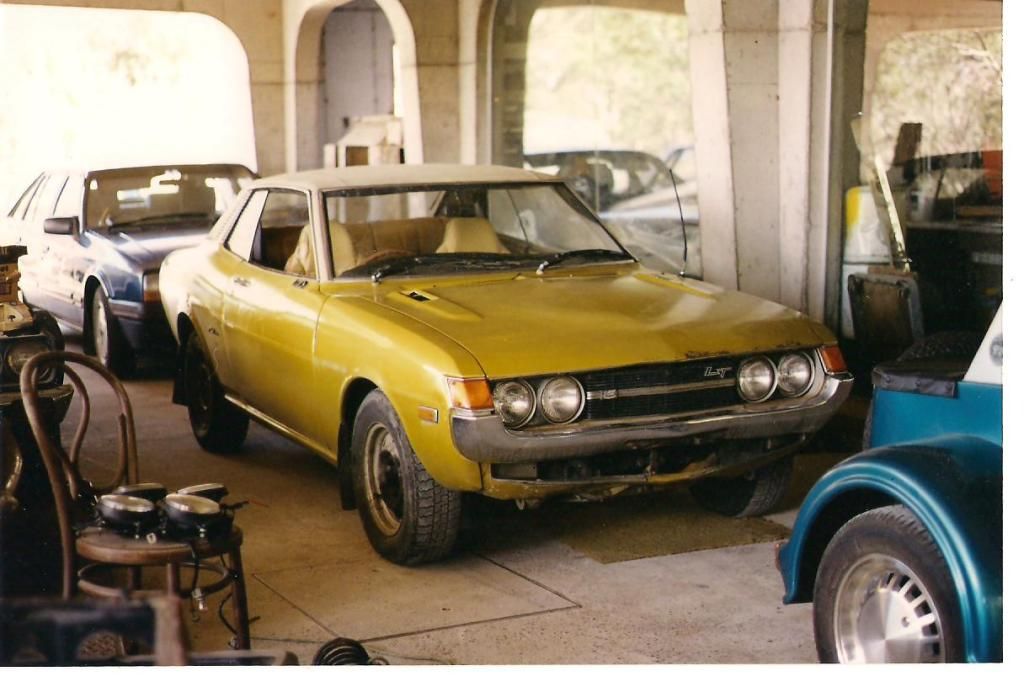 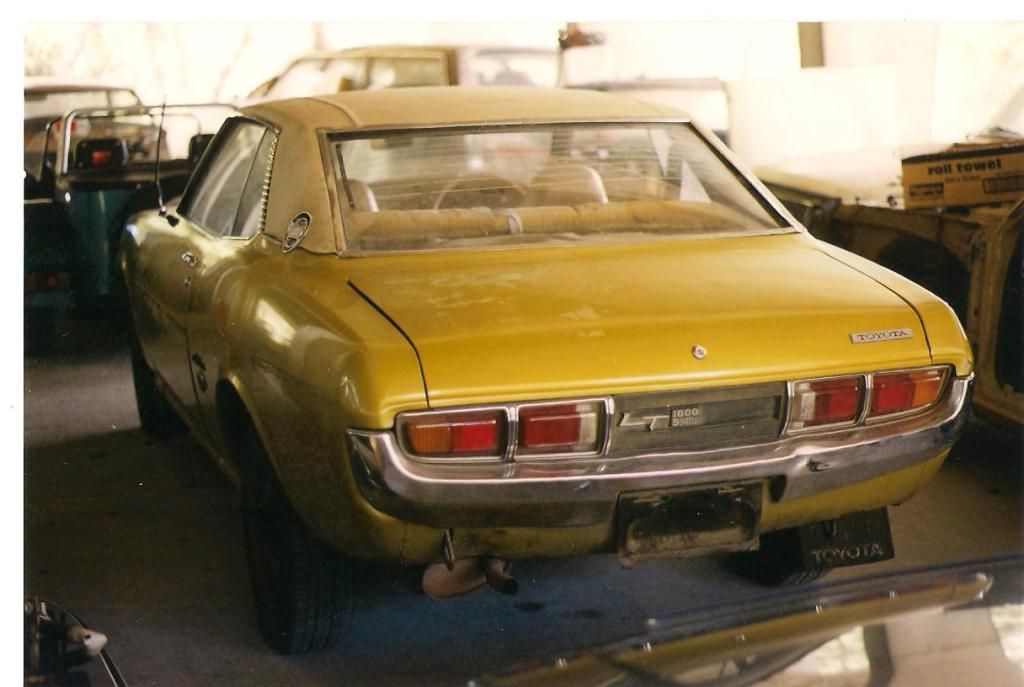 This car had a straight body but everything bolted to the body was crap. So i started to strip the two cars down and use the best of the two to make one good one. 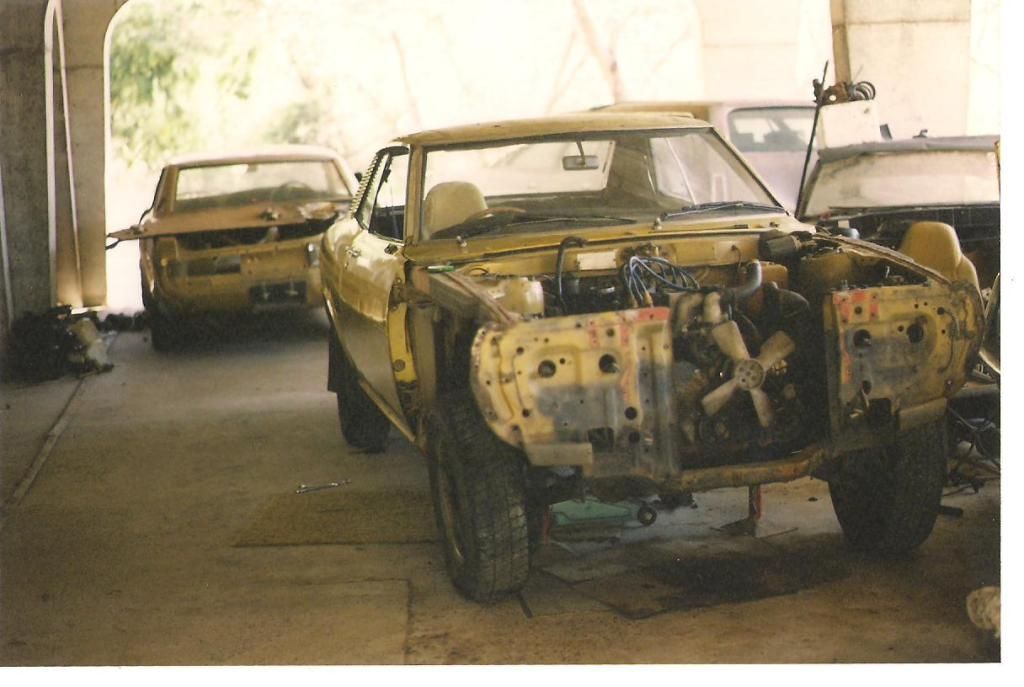  While I had the car in peices I decided to fix the rust and give it a lick of paint.  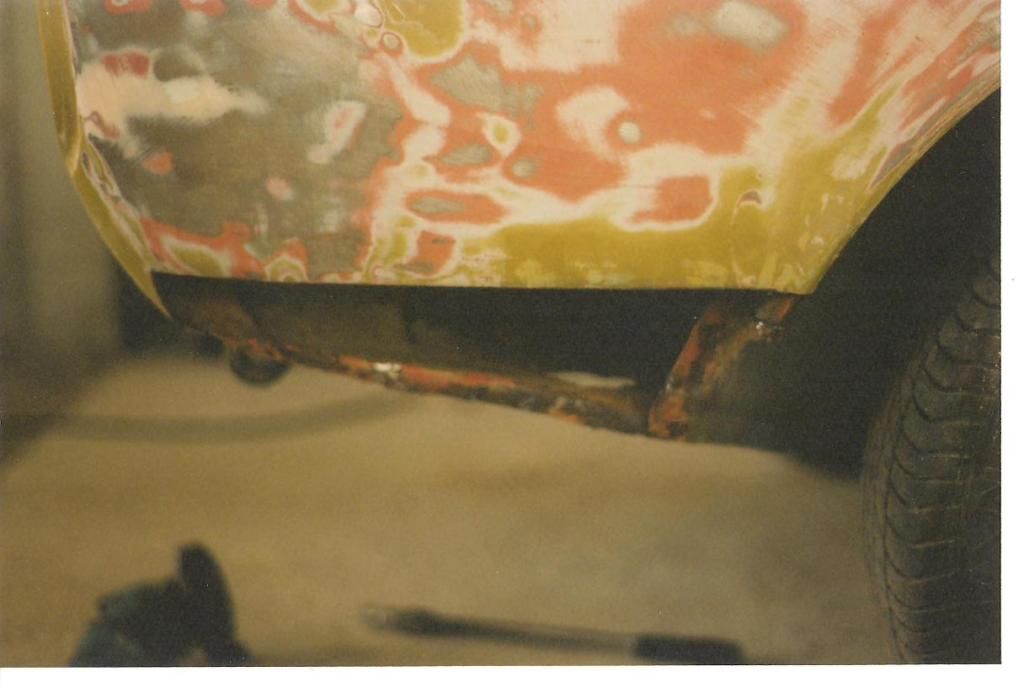 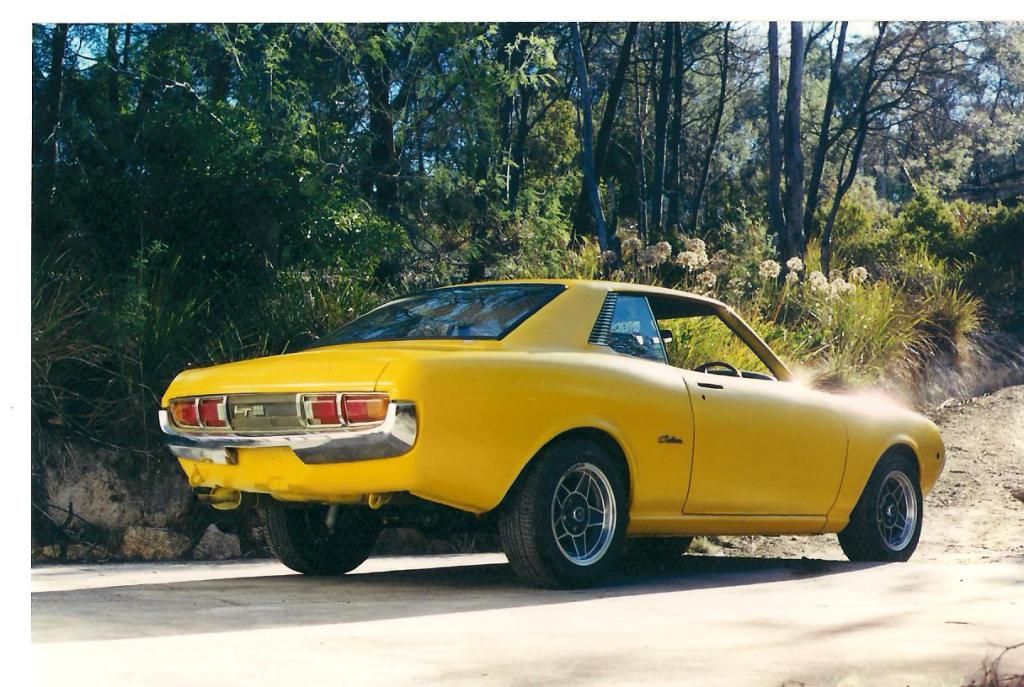 I also tried my hand at fixing my cracked dash, here is the finish product. 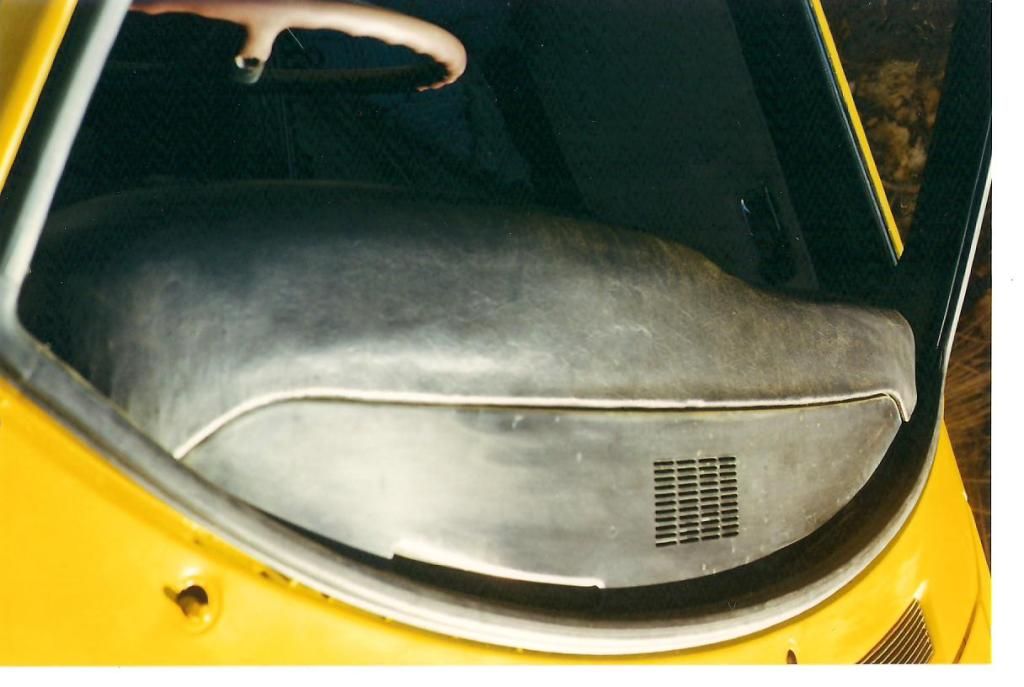 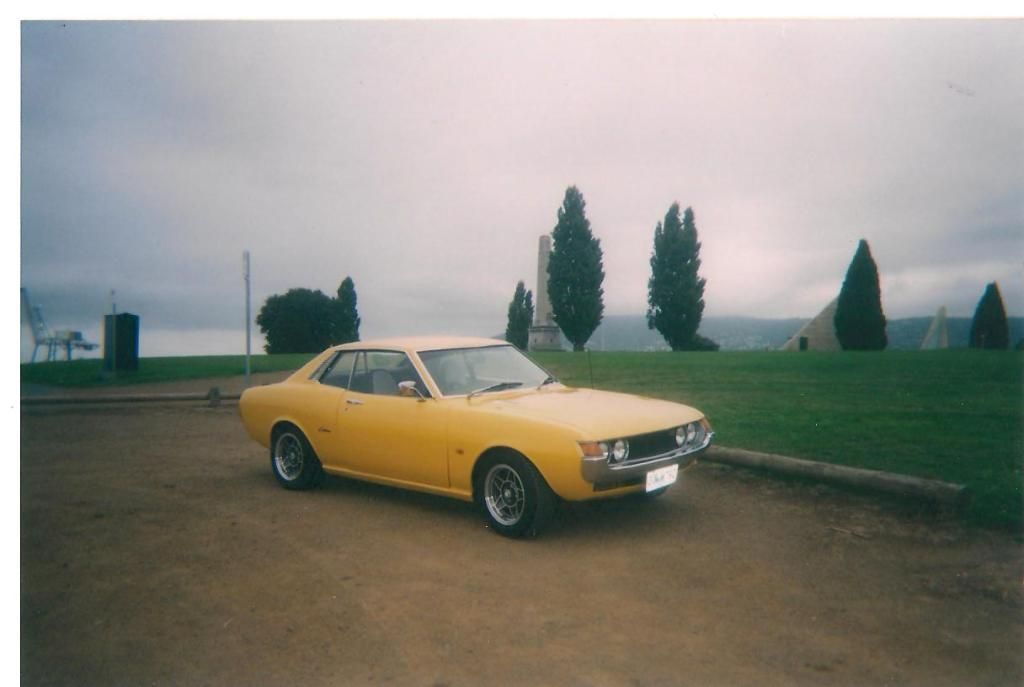 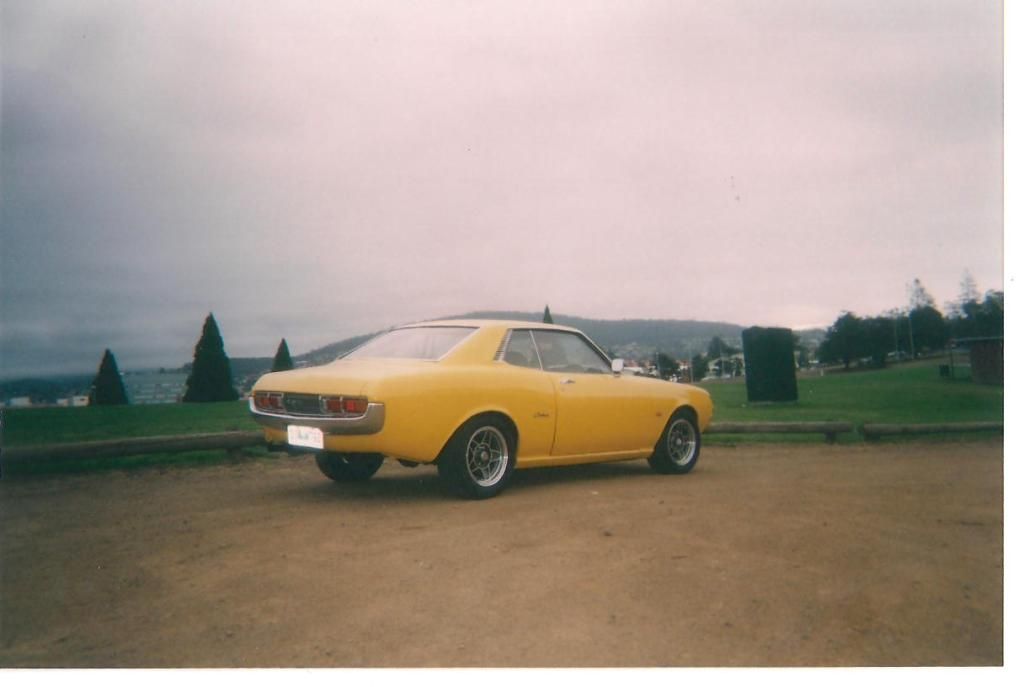 This was what it looked like all back together, The paint wasn't great, and the panel gap where off but I had to rush to finish it because the other car shit it self. Anyway I drove the car like this for another couple of years until the engine finally packed it in. I had a couple of choices rebuild the 2T single cam with twin carbs or bite the bullet and get something EFI. EFI it was and a 4AGE fwd front cut was sitting in my local wrecker. I don't have any photo's of the conversion as I lost them when my computer got wiped. I had to convert the engine to rwd and sort out the wiring and the engine mounts. The convertion was straight forward with little to no hassels. 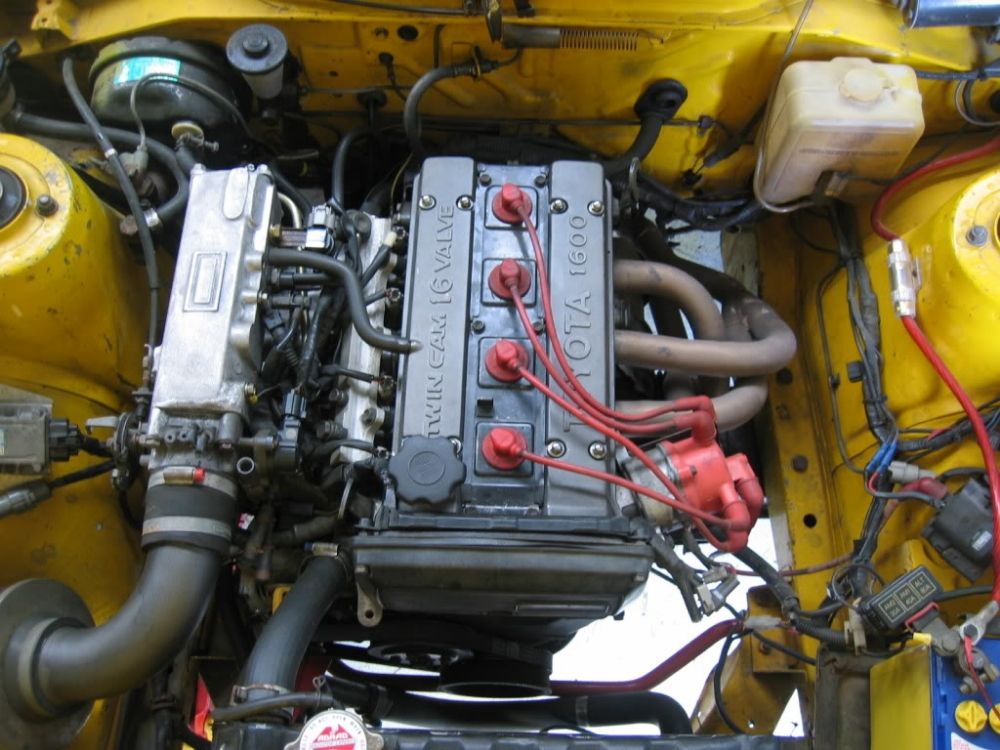 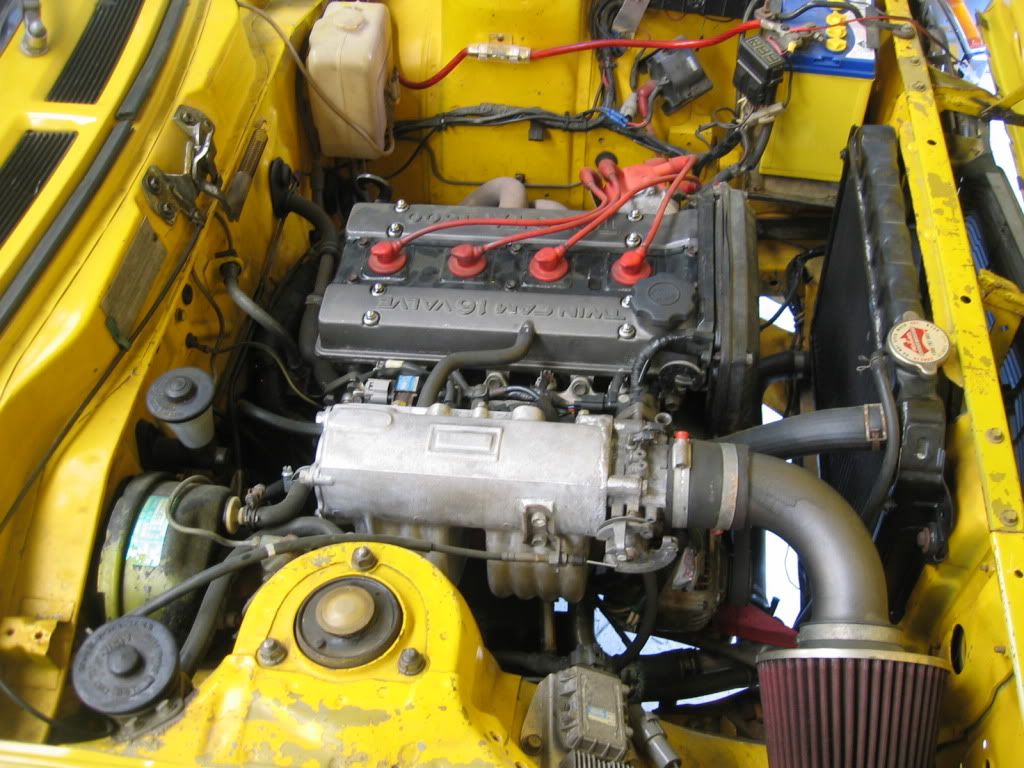 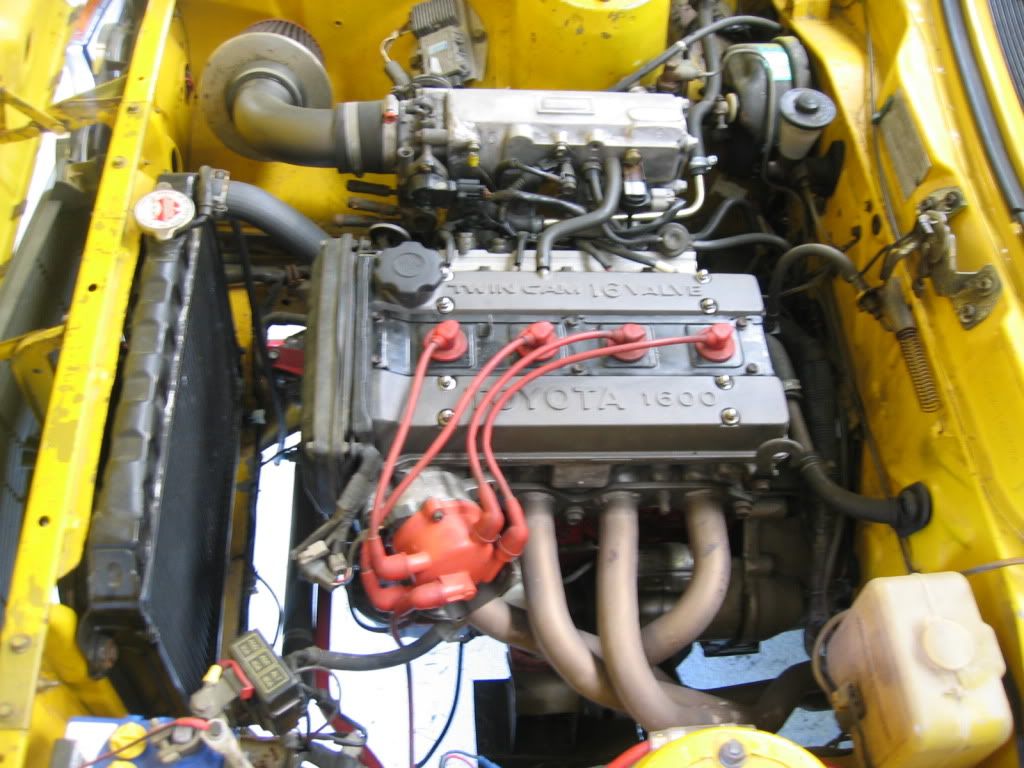 TO BE CONTINUED |
|
|
|
Post by evanta22 on Sept 1, 2013 4:08:09 GMT 10
From this point I have been slowly replacing bits with stronger, better ones. First to go was the gearbox the old split case cried enough. So I ordered a W55 supra box from Dellow Gearboxes to bolt straight up to my 4AGE. Then the diff went. So I ordered a diff from keysbough diffs, I got a Hilux 4.1:1 ratio, LSD, shortened, with Commodore VR disc brakes and all the celica bracket, to bolt straight in. I also got the tailshaft made to lenght with the right uni's to bolt it all up. 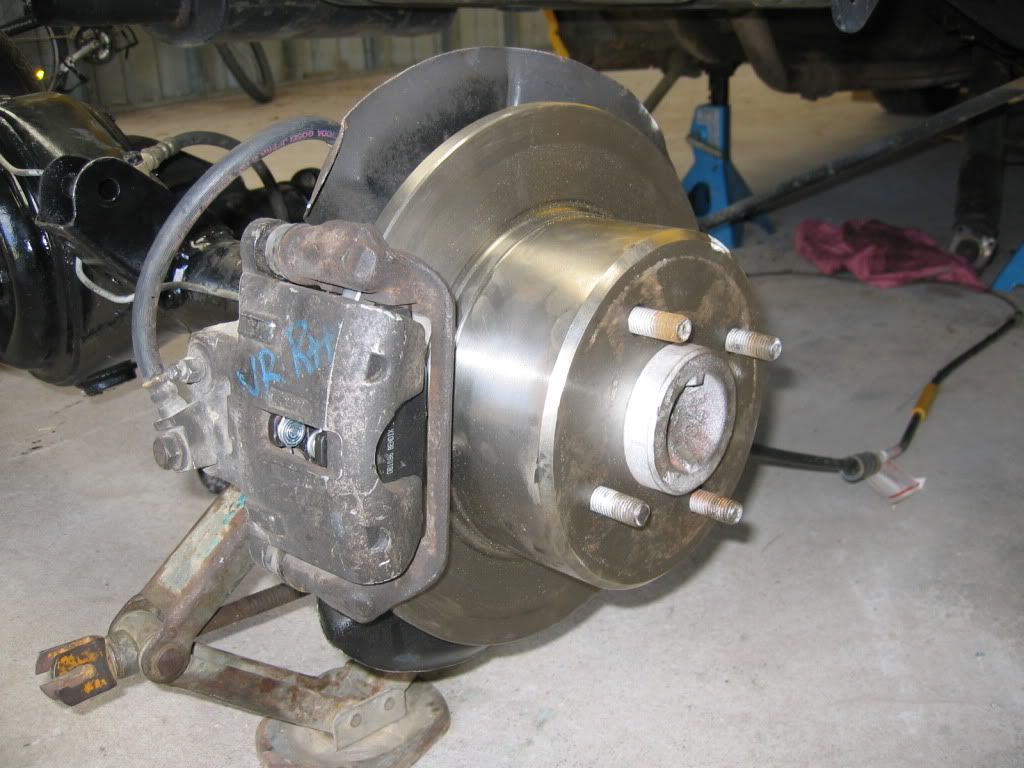 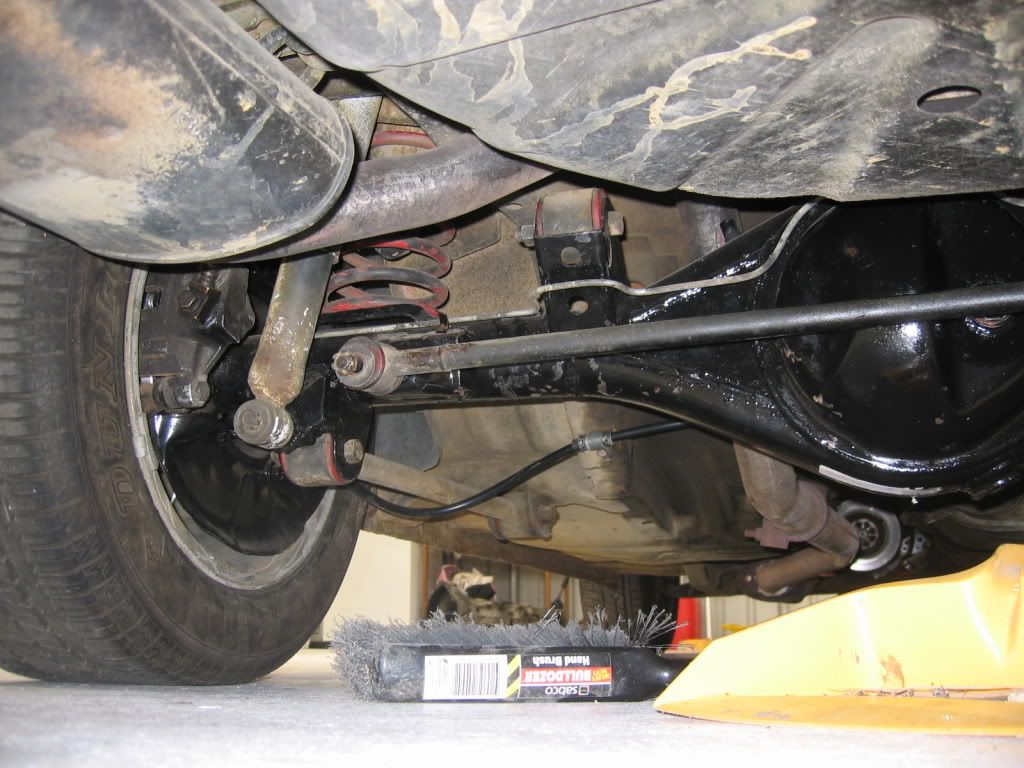 Then the brakes and steering... The rotors are DBA slotted ones for a Gen 2 Proton. The 4 pot calipers are off a 60 series Landcruiser. and to bolt them all I have made up a billet bracket made from aluminium 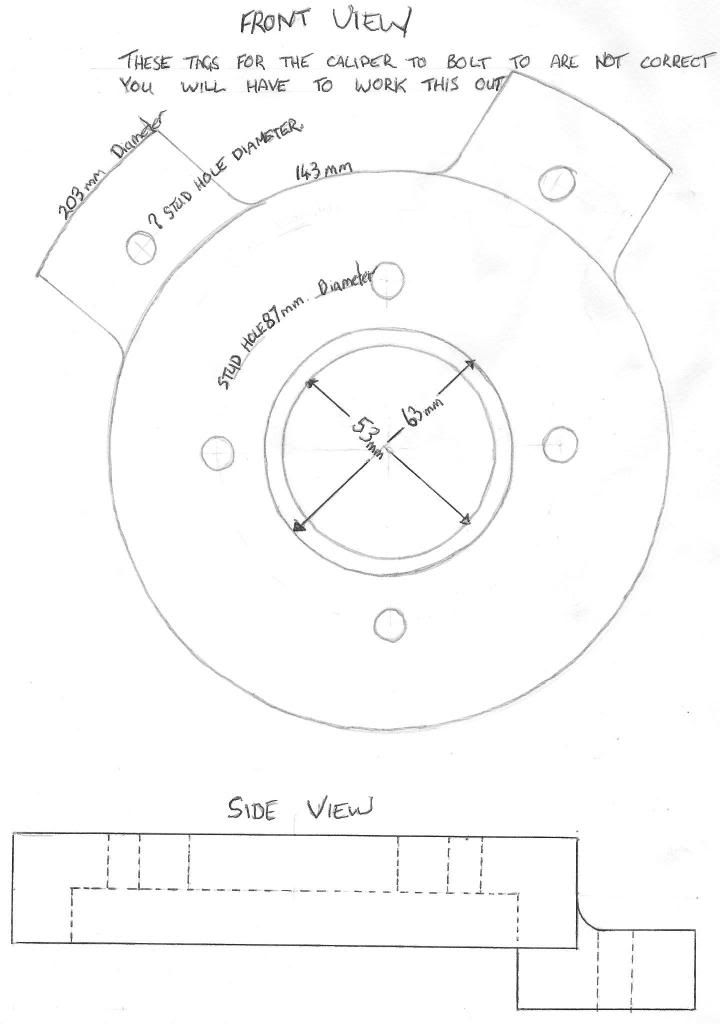 This is my diagram for the machinest to make the bracket.  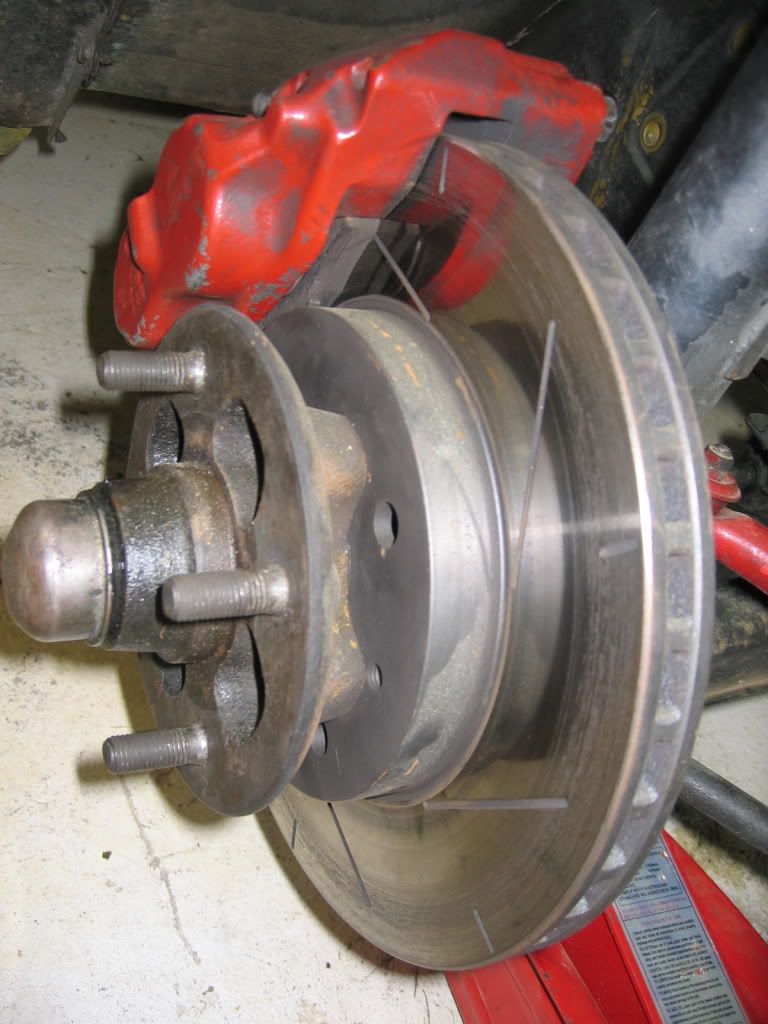 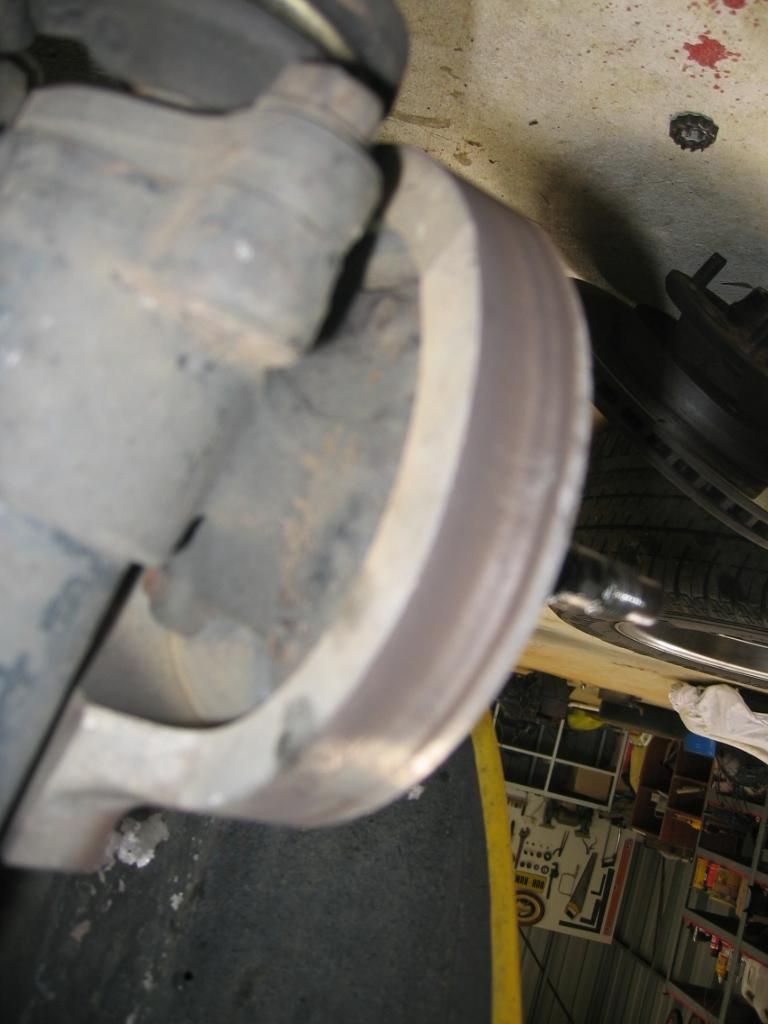 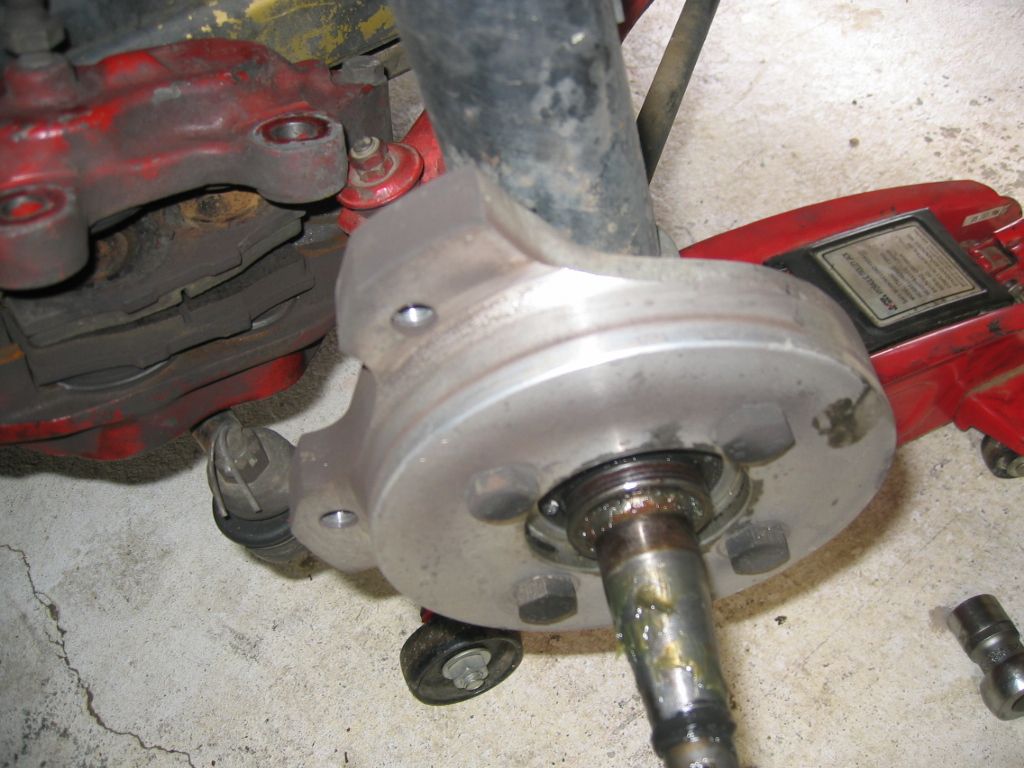 The rack and pinion steering was next. All parts were sourced from a KE71 corolla. Rack, engine cross member, and steering column. The brackets were cut off the crossmember and welded to the TA22 crossmember. Then the two columns were pulled apart and the corolla bottom was mated to the celica top. The rack was shortened to the right measurements. Then there was about a month of tring to locate the rack so as to stop bump streer. Once the bump steer was stopped everything was welded up and the result was very precise steering. 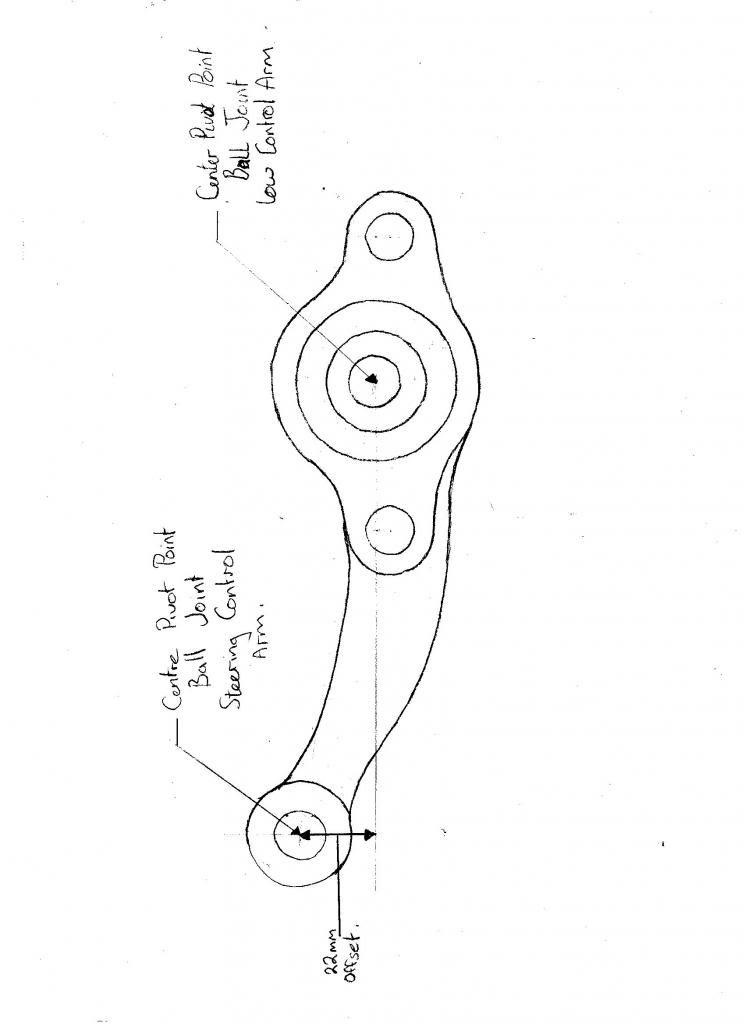 This is working out the amount to cut off the rack. 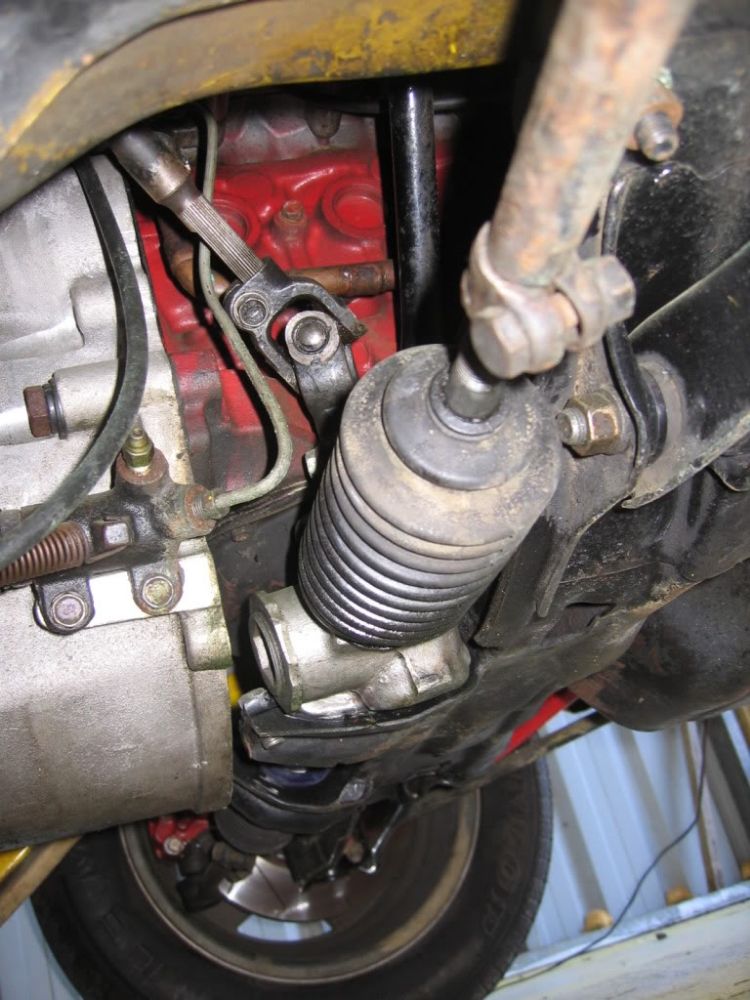 To be continued |
|
|
|
Post by evanta22 on Sept 1, 2013 4:32:44 GMT 10
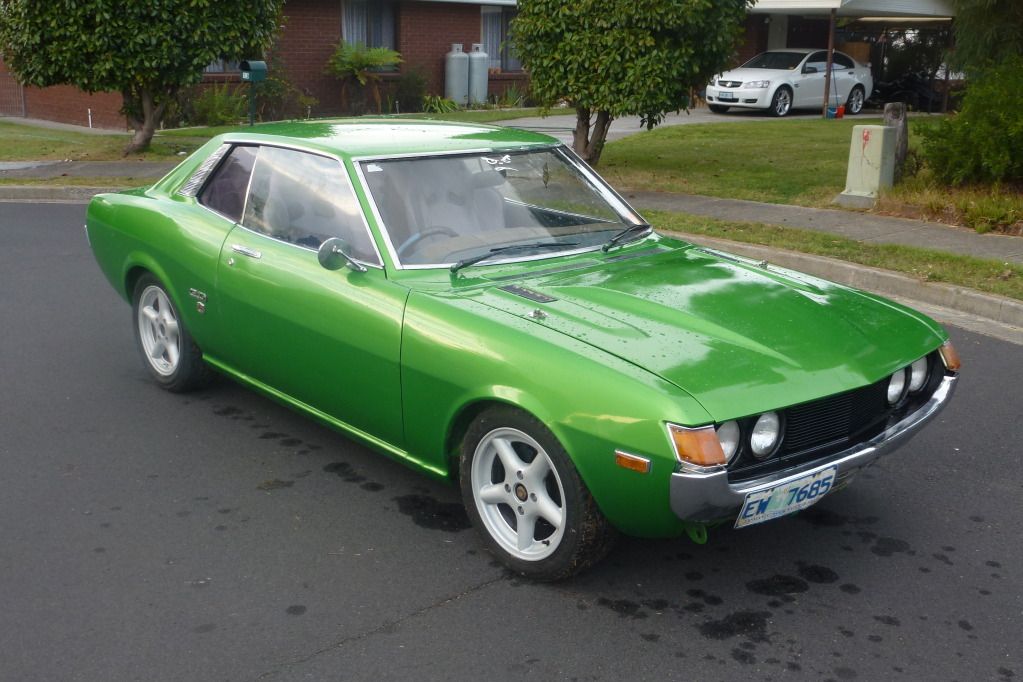
When I finish the brakes the pedel was very spongy, so I ordered a Pajero Master cylinder. This will bolt straight on to the original TA22 booster. The rubber that sealed the cylinder to the booster was cut down a bit to fit.  New and Old. 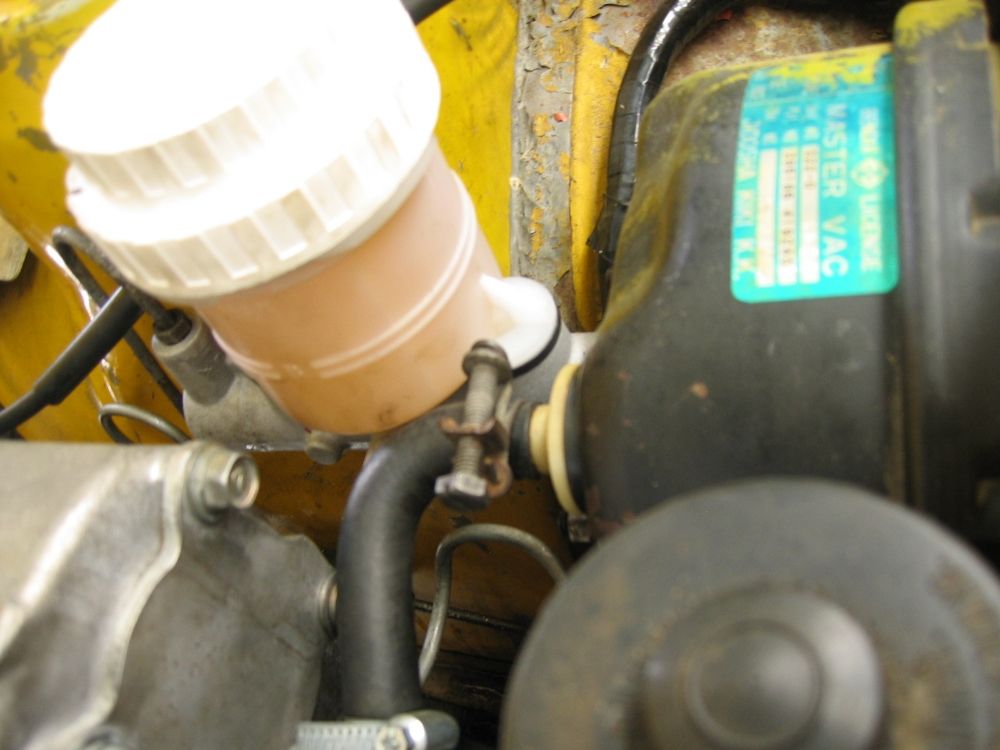 I also made up a bracket to mount up an overflow bottle as the radiator I got which is out of an early sprinter didn't have one. 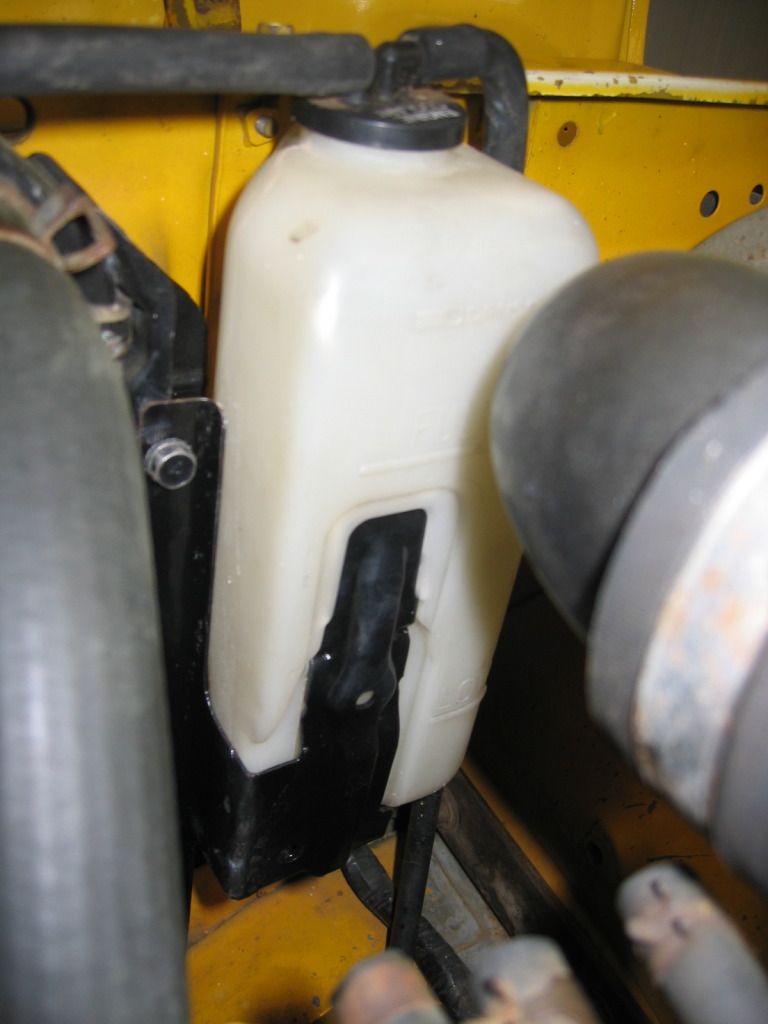 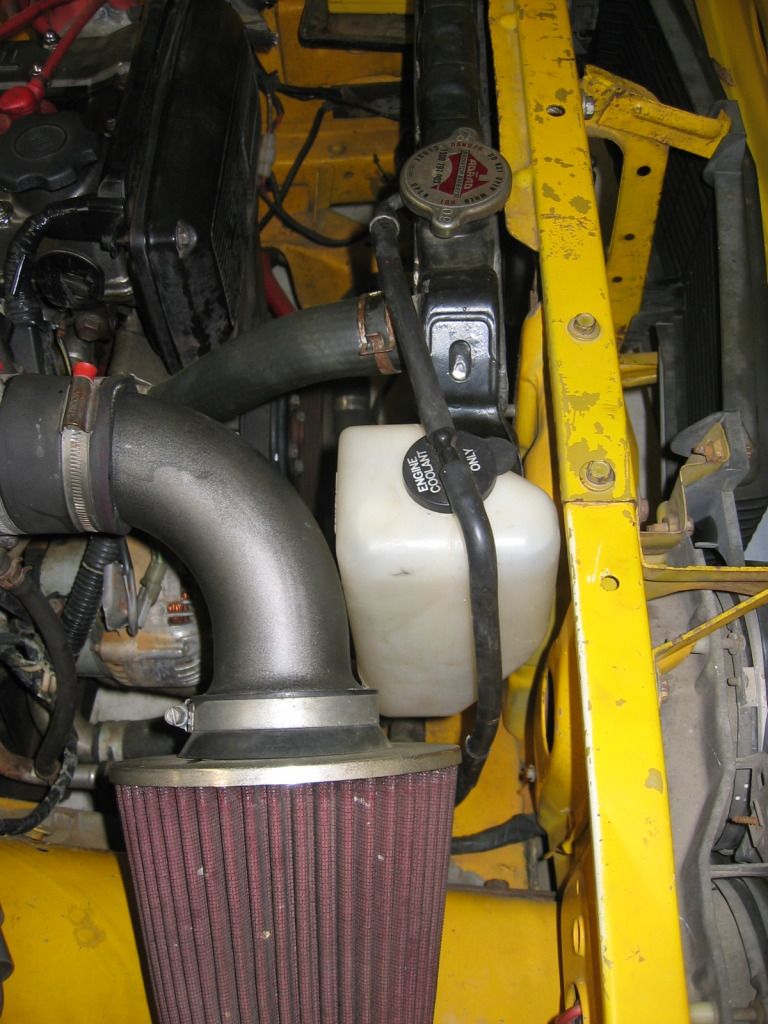 Now I was back to modifing the body. The first was the clear indicators front, and remove and relocate the side one for tear drop magna ones to behind the front wheel arch. 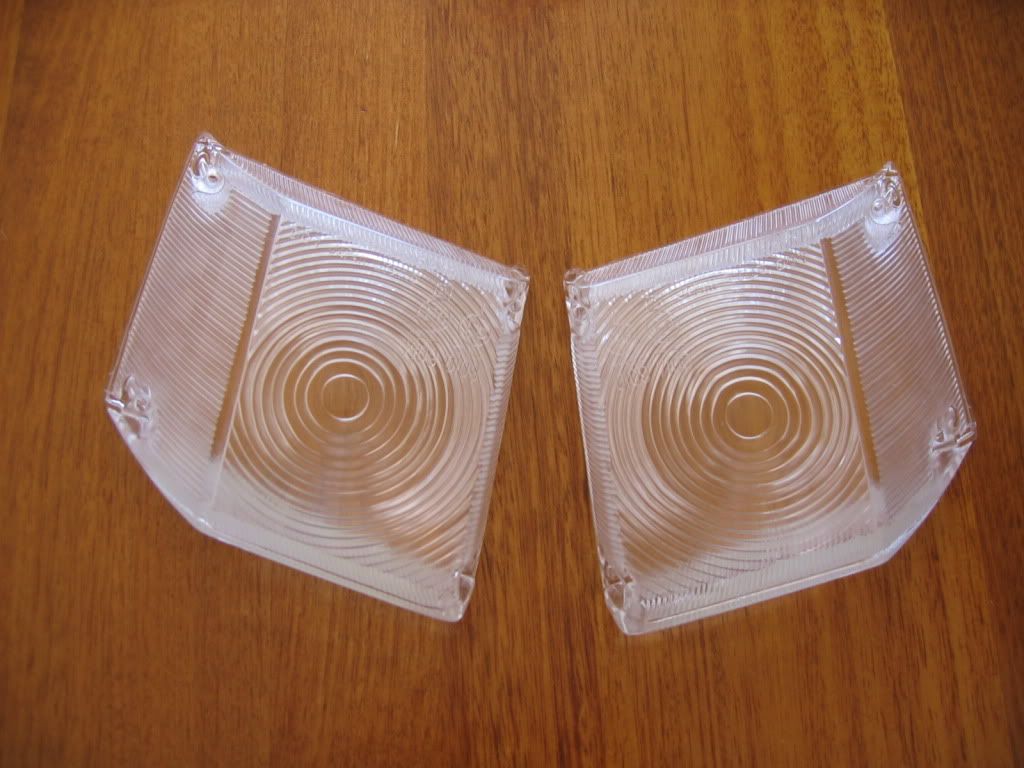 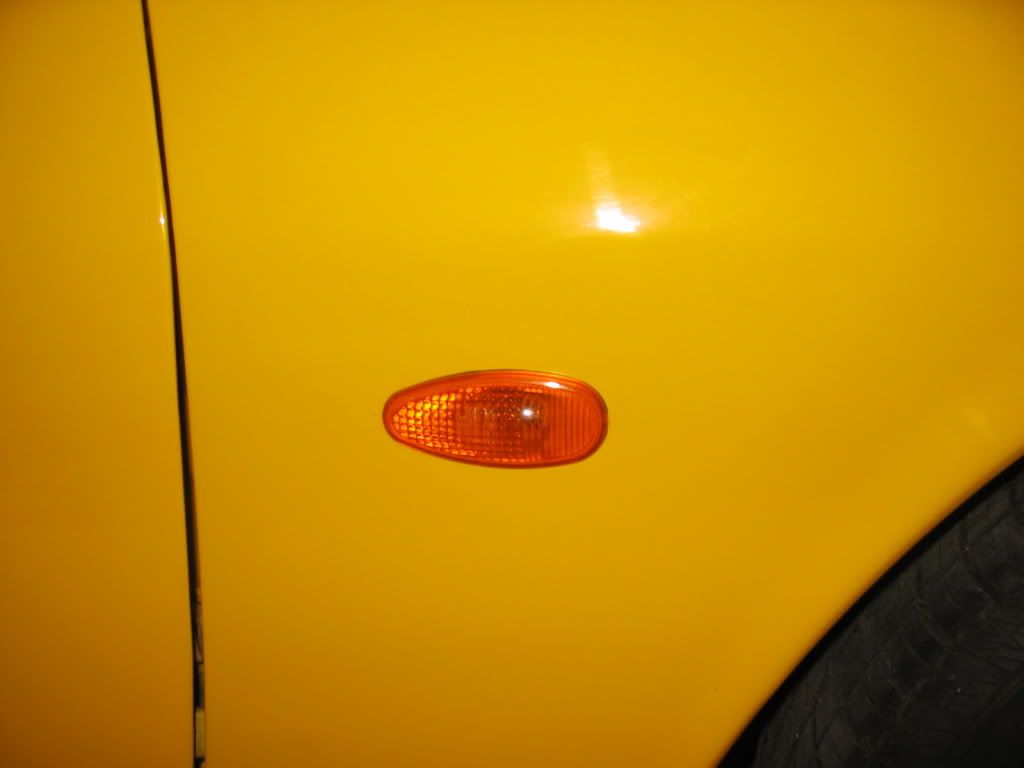 Then the bonnet vent were found and bought 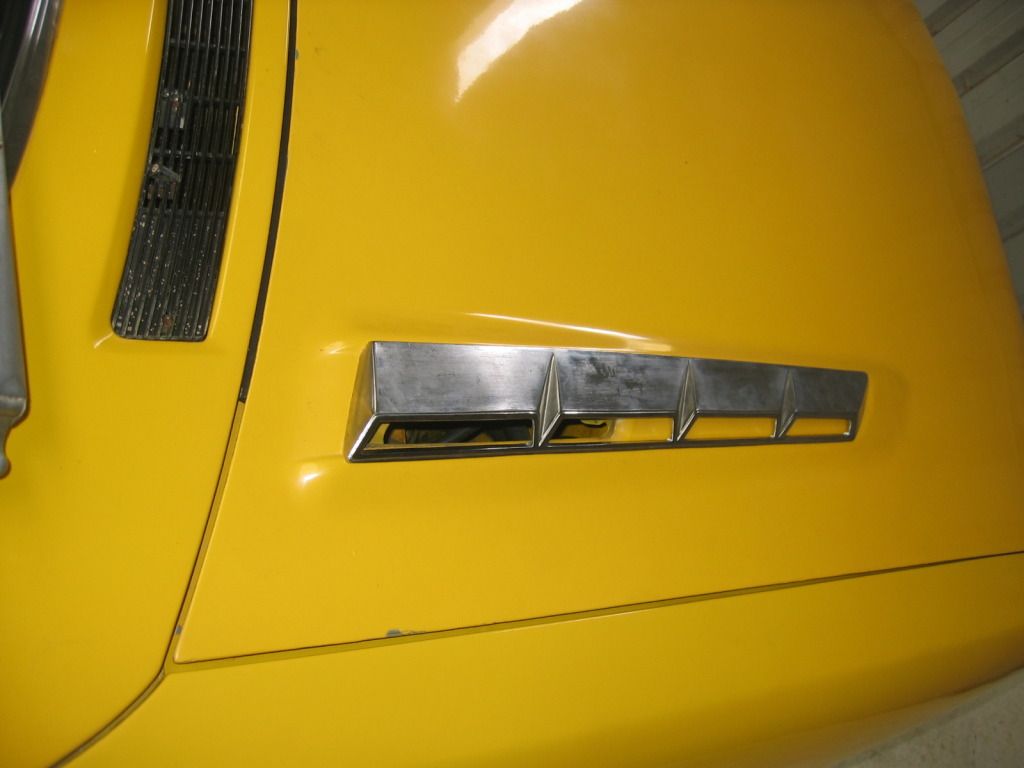  and then the GT grille, which when I got it it had a lot of surface rust and needed to be restored. 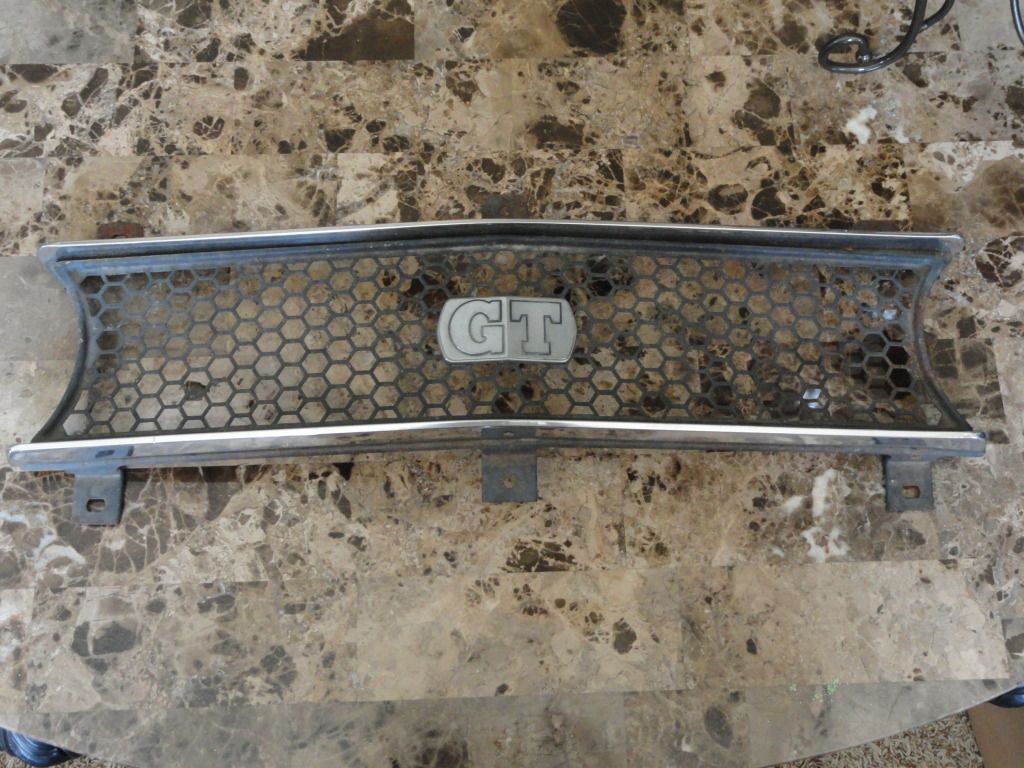 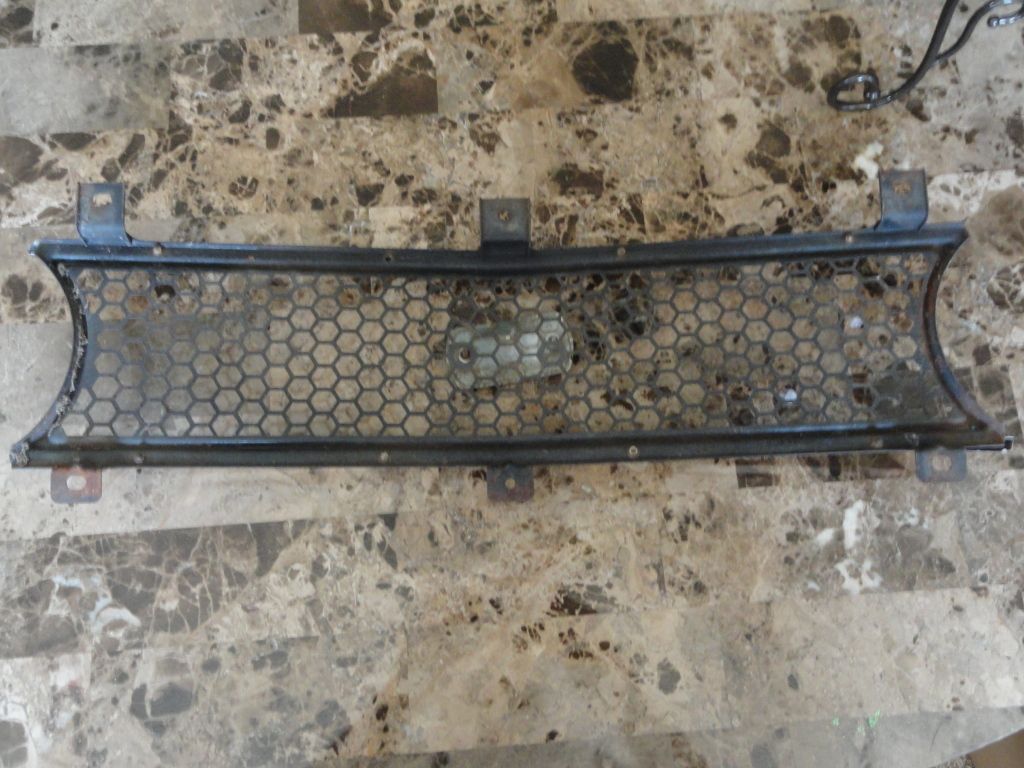 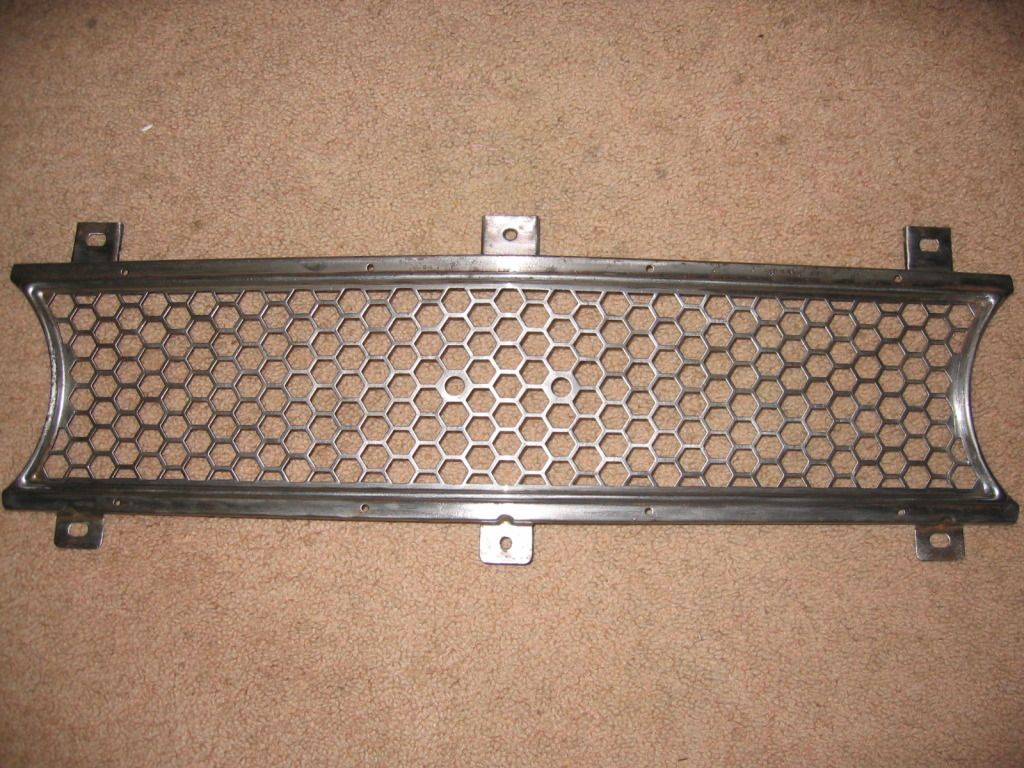  The badge was broken and missing the plate that bolted it to the grille. 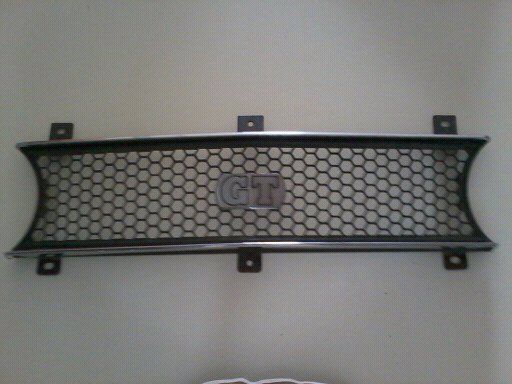 The finish product. Polished chrome and badge, repainted in matte black, and made a new plate of the badge. The chin spoiler was next, and I had to cut the mounting brackets off an old valance and glue them to the fiberglass spoiler in the right spots. Then I reshaped it to fit nice, and painted it. To finish it off some flexable, stick on chrome striping was applied to the top edge. 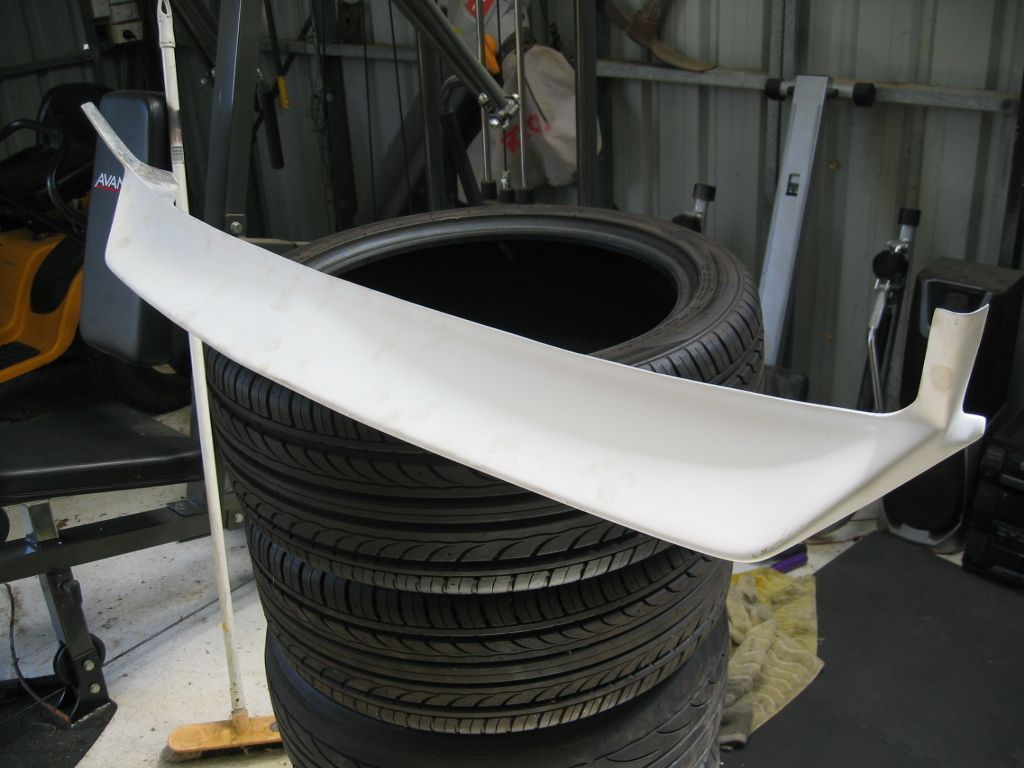 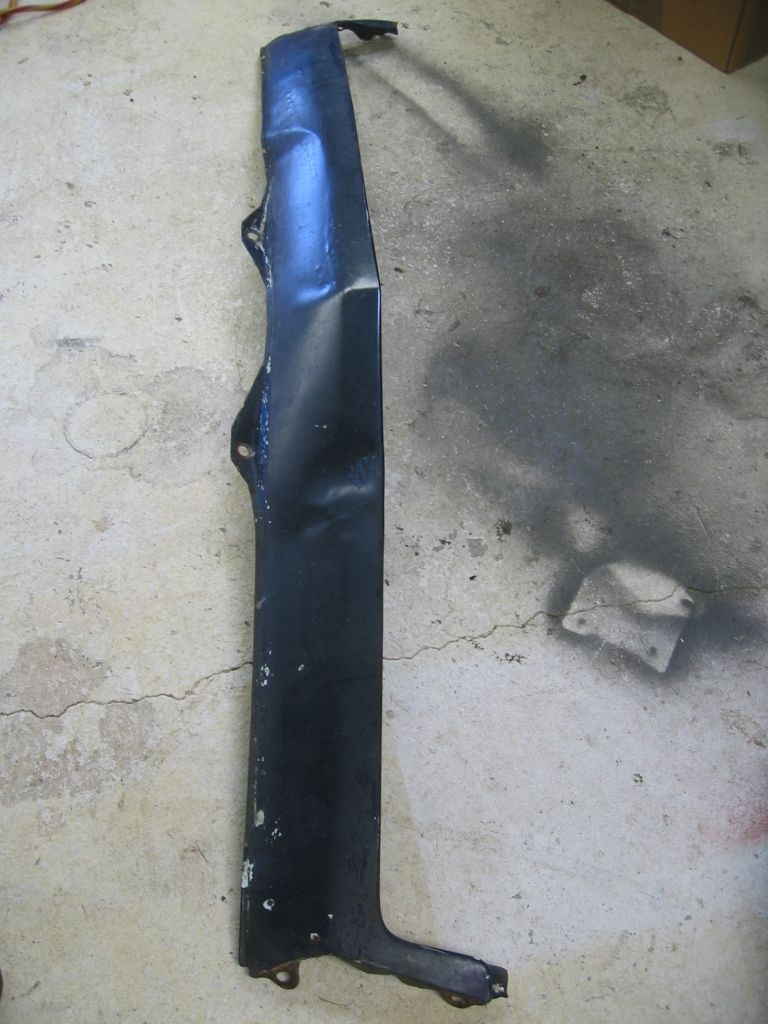 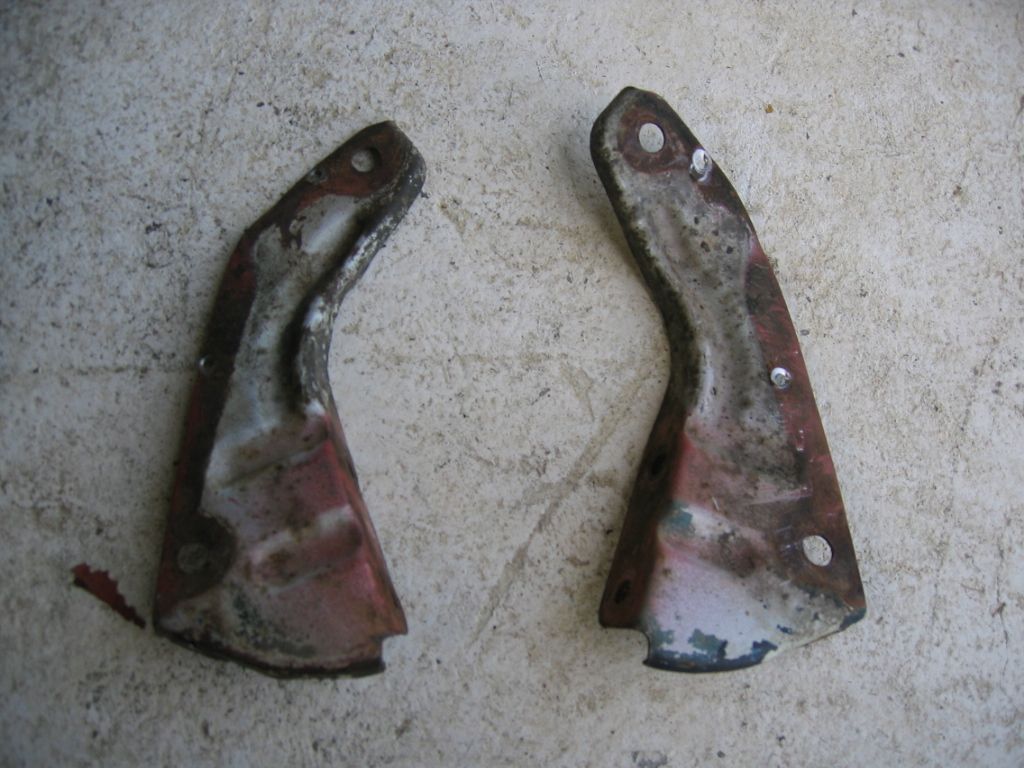 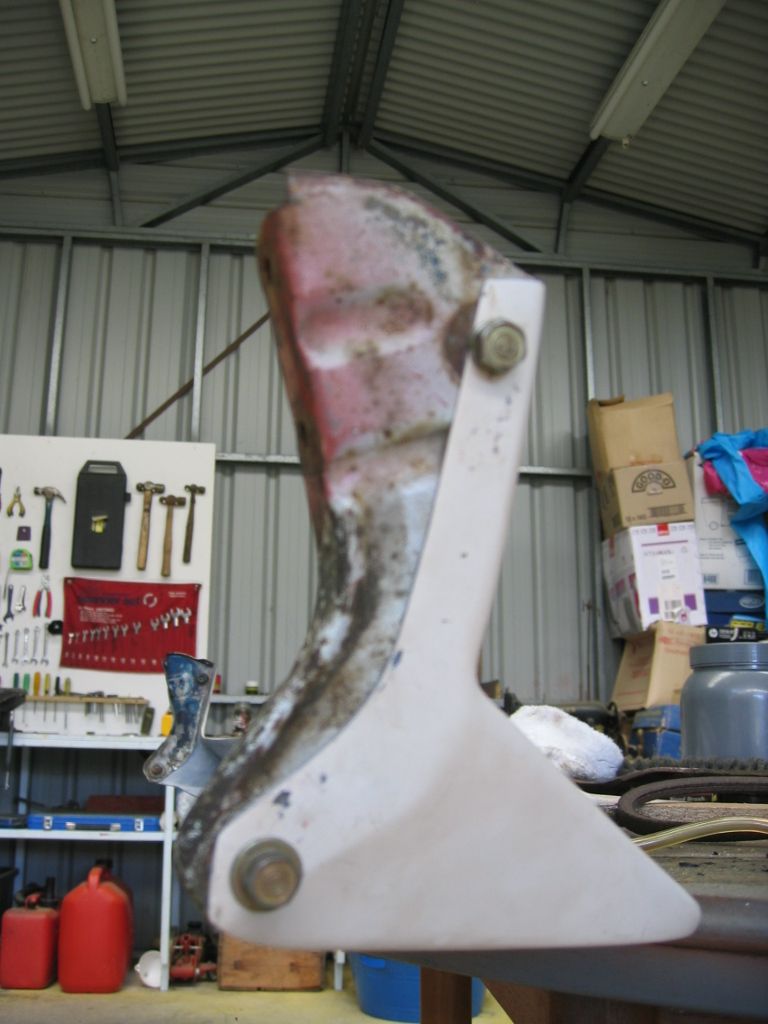 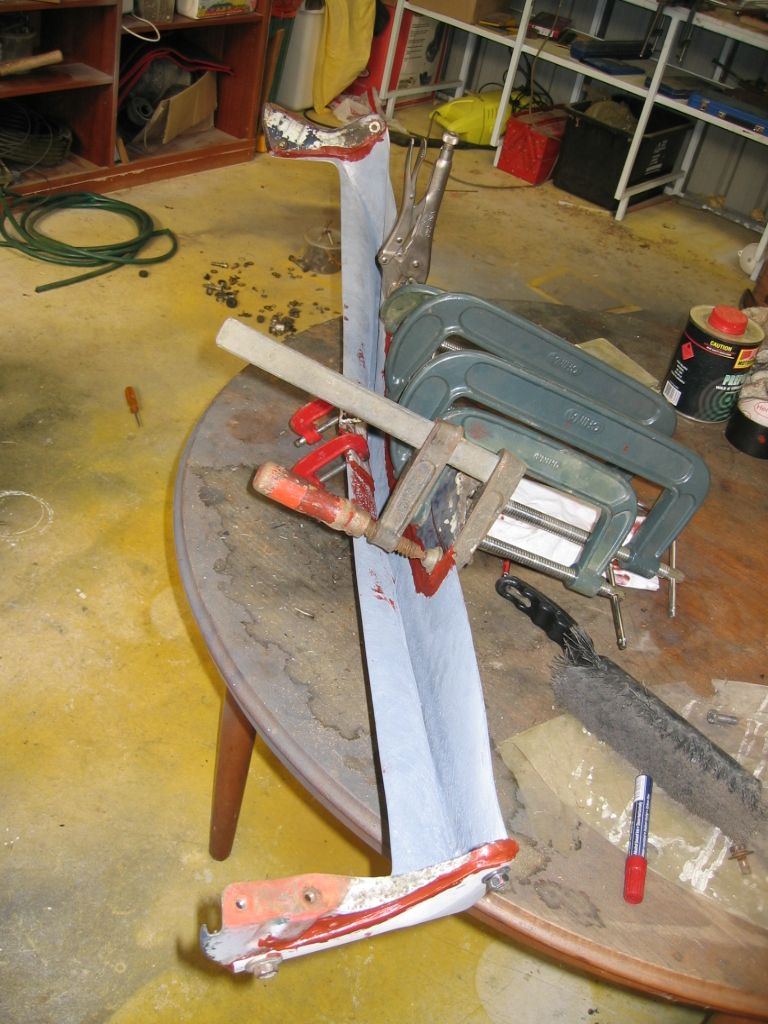 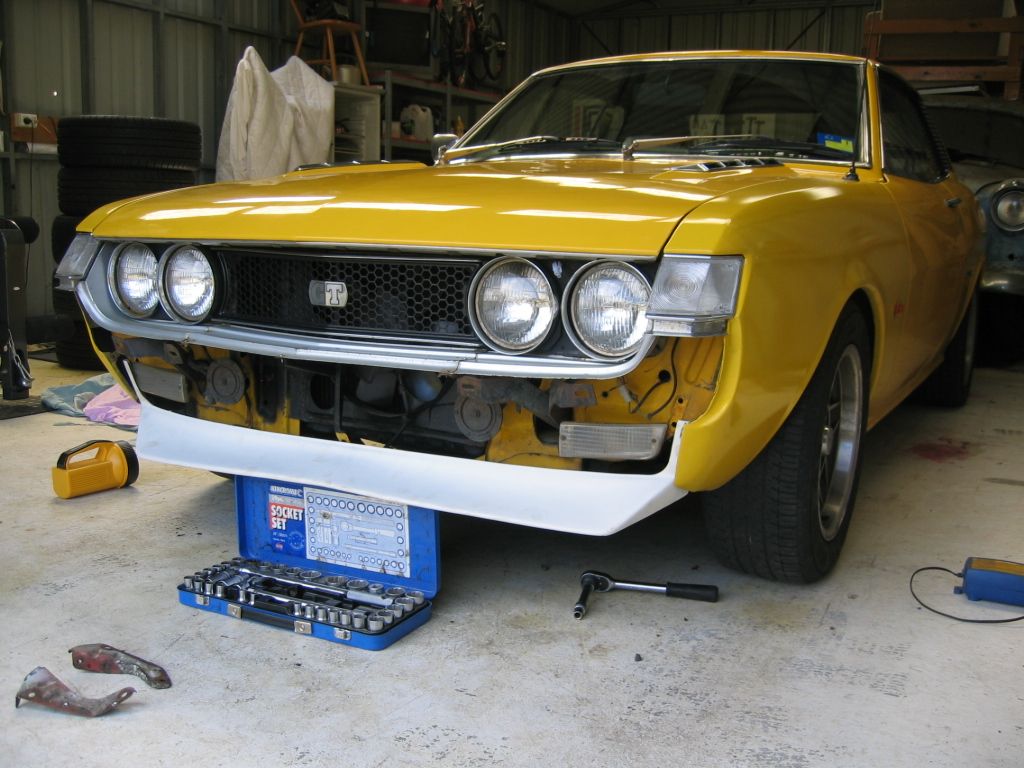 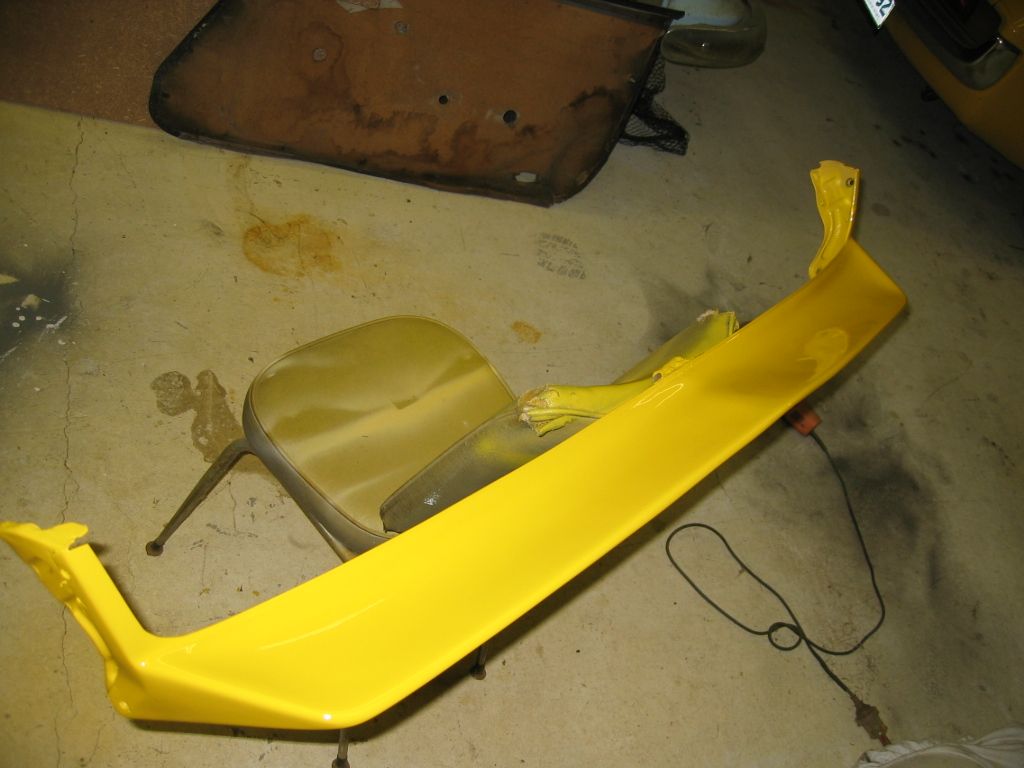 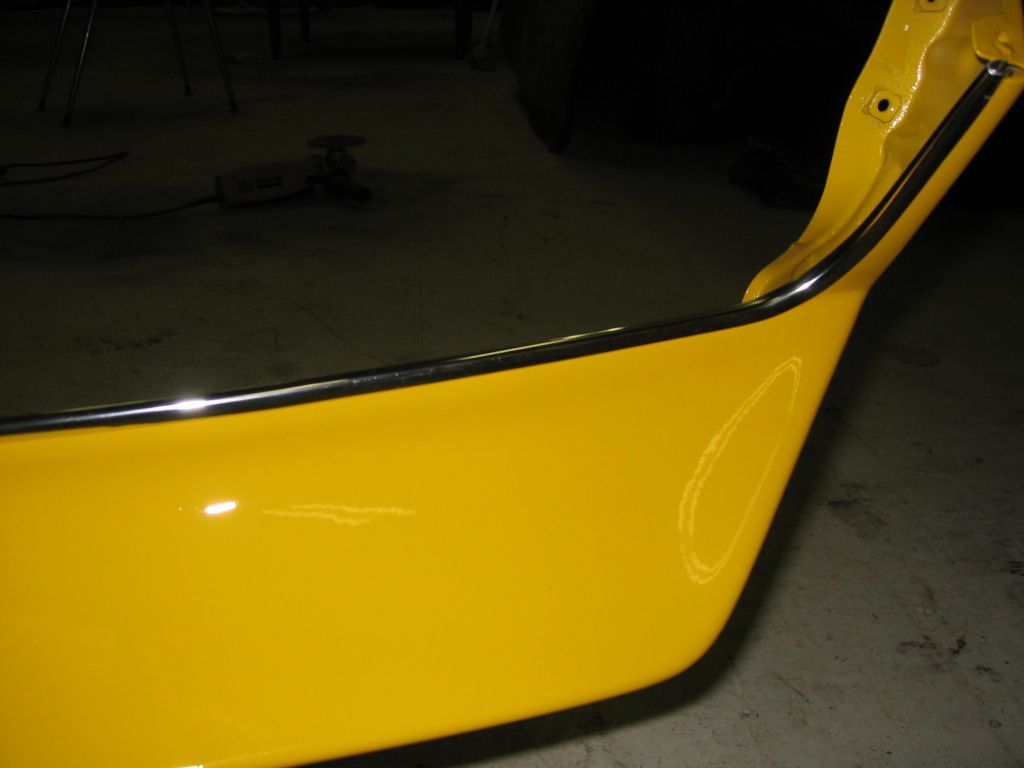 The next mod is the fender mirrors. I seached the net for months chasing down these shorter solid mounted mirrors, evenually finding them from a guy in Thialand. 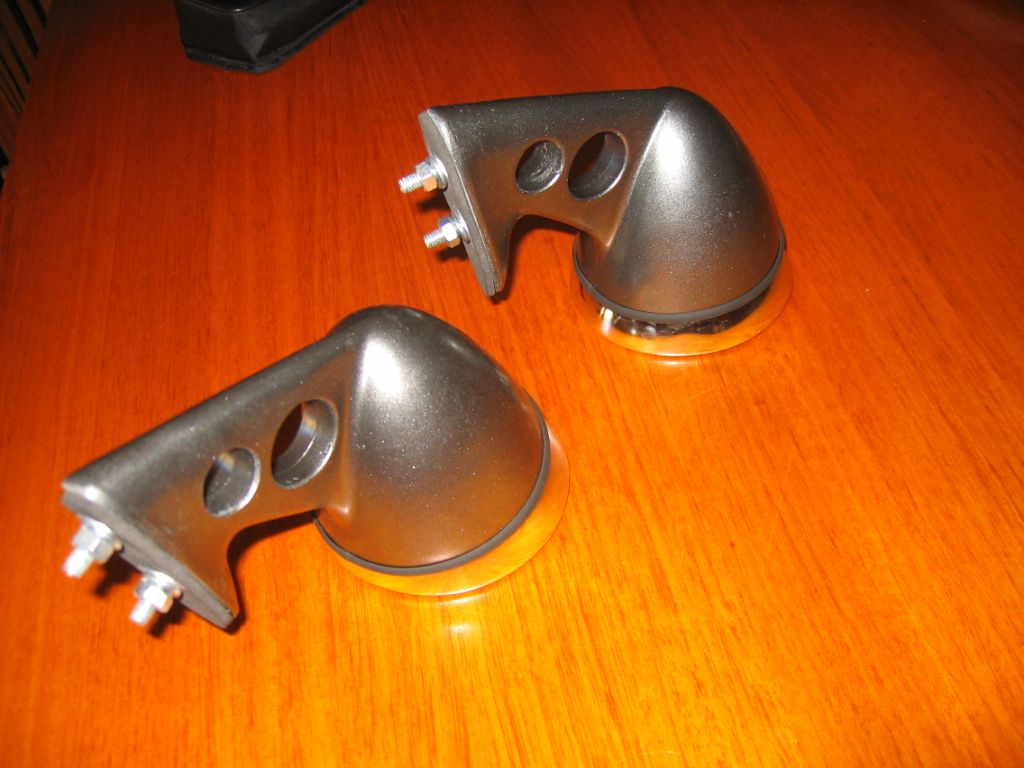 the final body mod was the flat tail light conversion, to get them to fit, I cut out a thin peice of metal either side of the light hole in the body. Then used cement putty to glue studs to the back of the center panel so I could bolt it to the body. The last thing is the plug in the tail light need to change to a '73 plug which is bigger than the '72 plug. 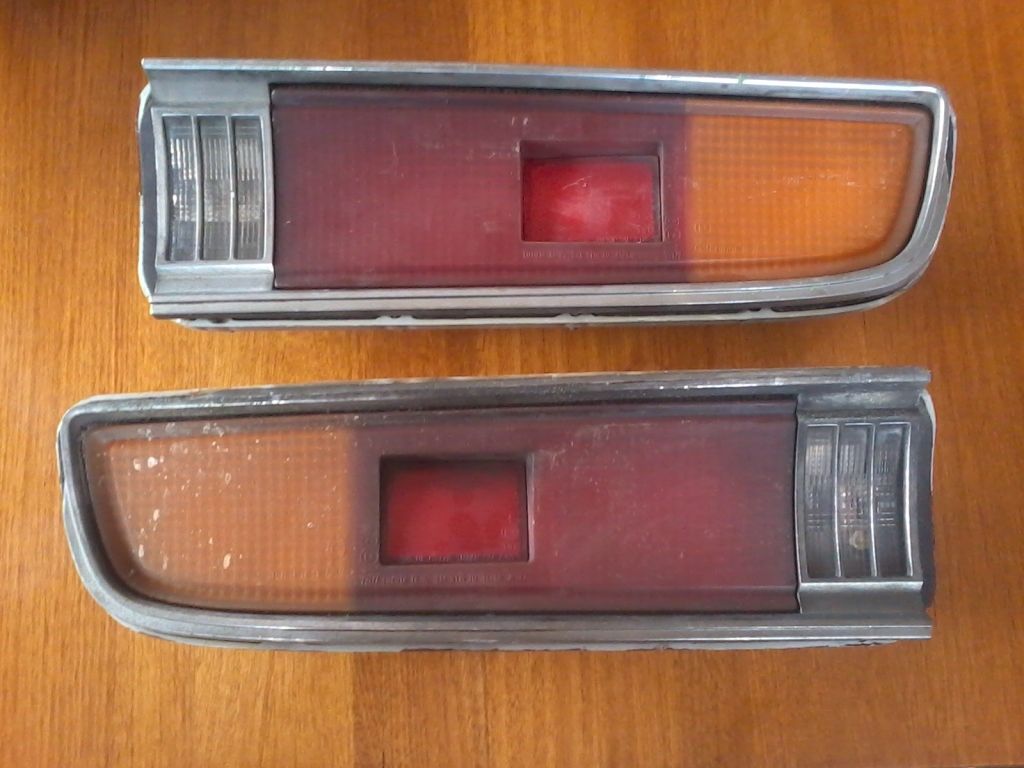 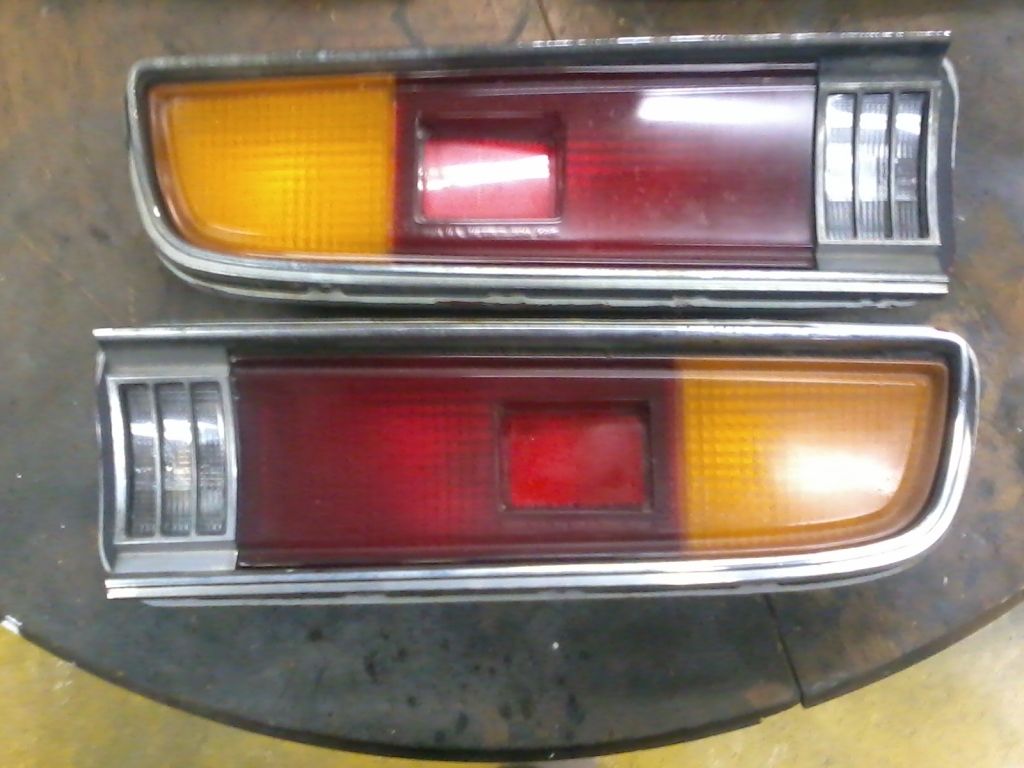 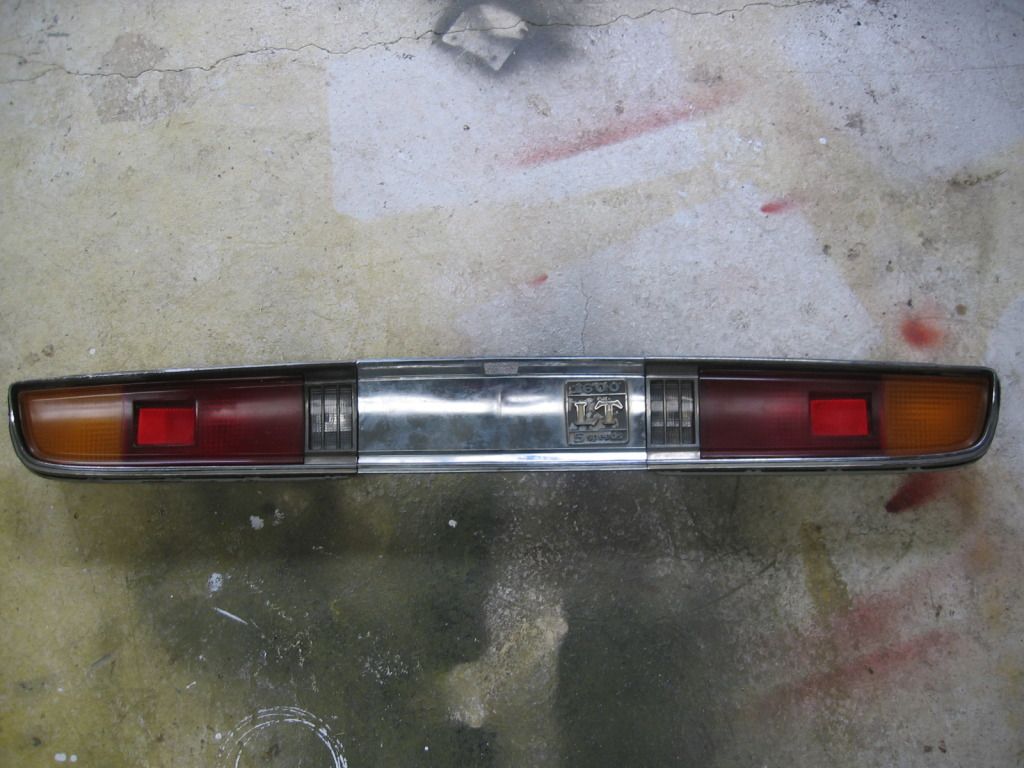 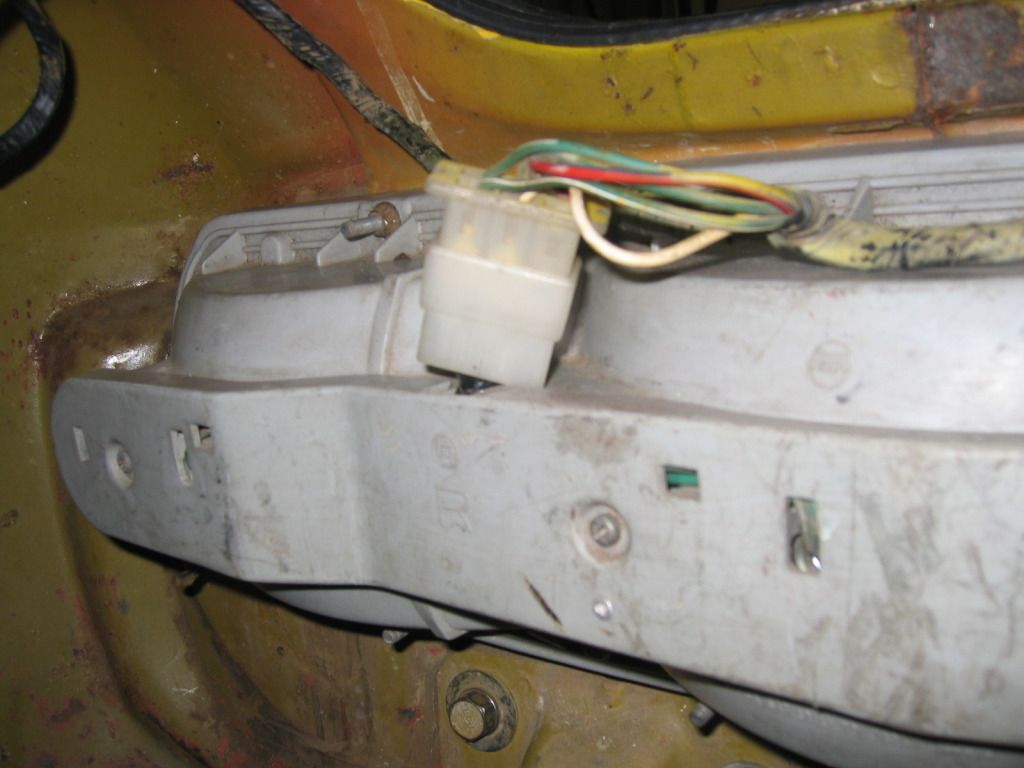 This is what the car looks like body wise now... 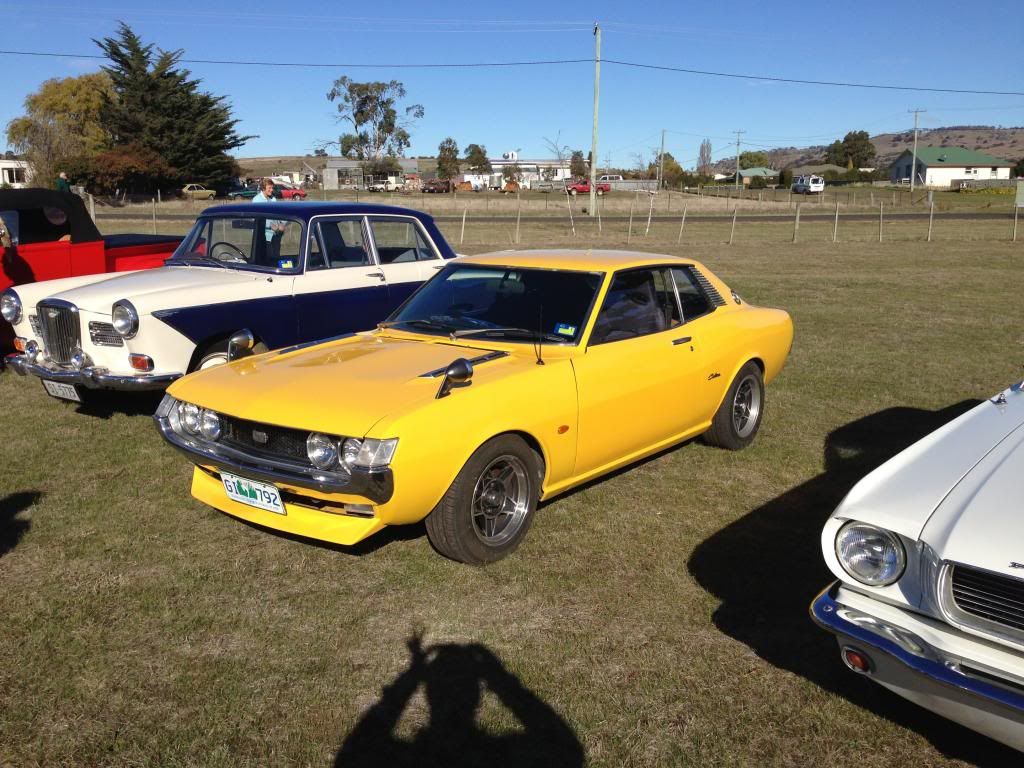 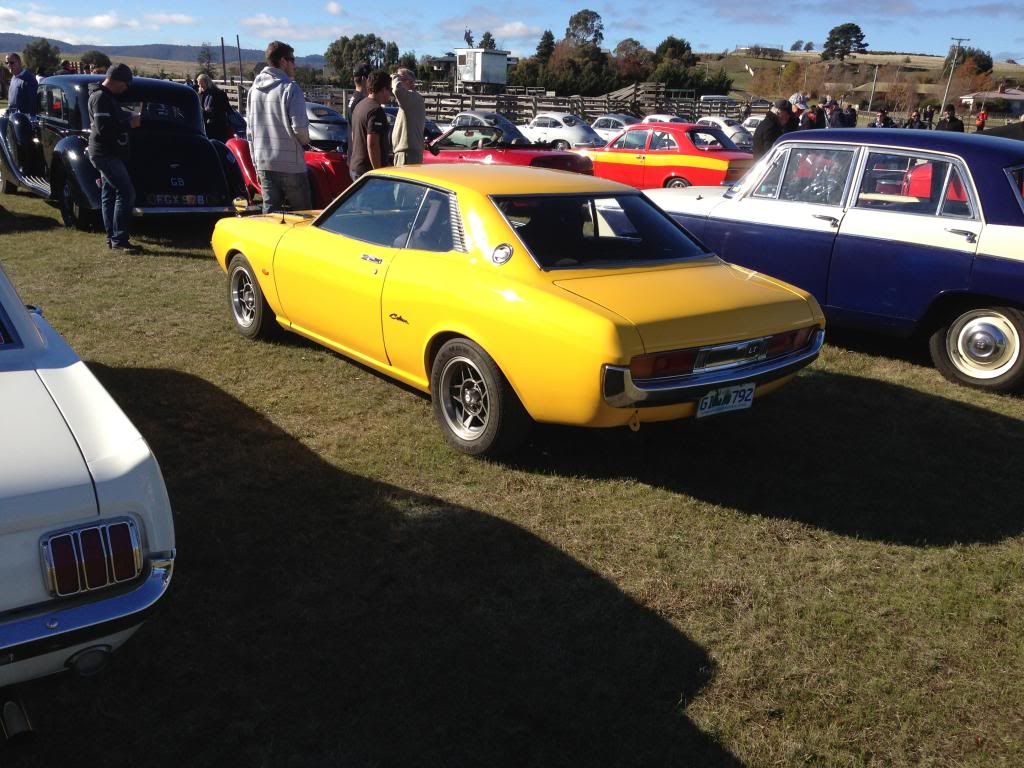 I am in the process of reupoholster to interior to GT trim specification like this picture.... 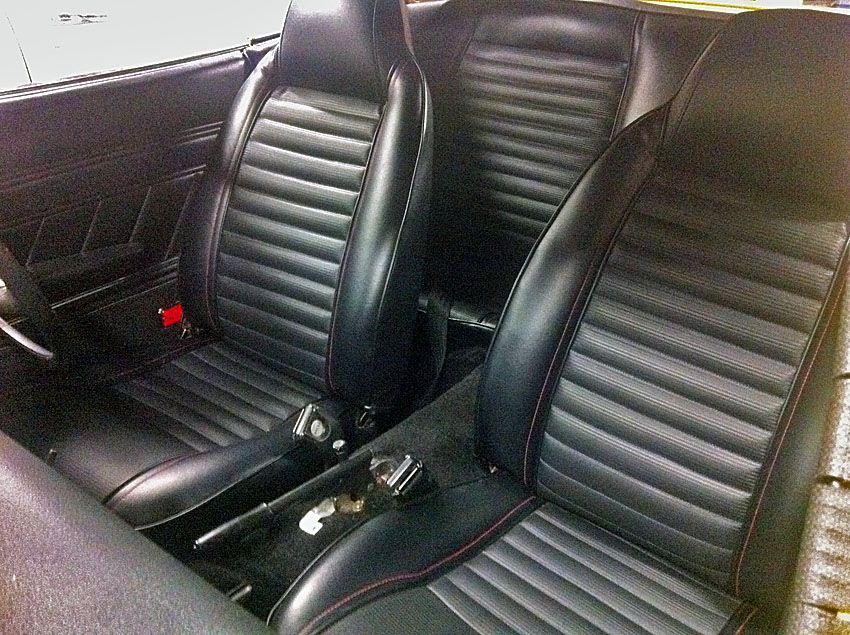 This is what I have done so far... Rear Seat 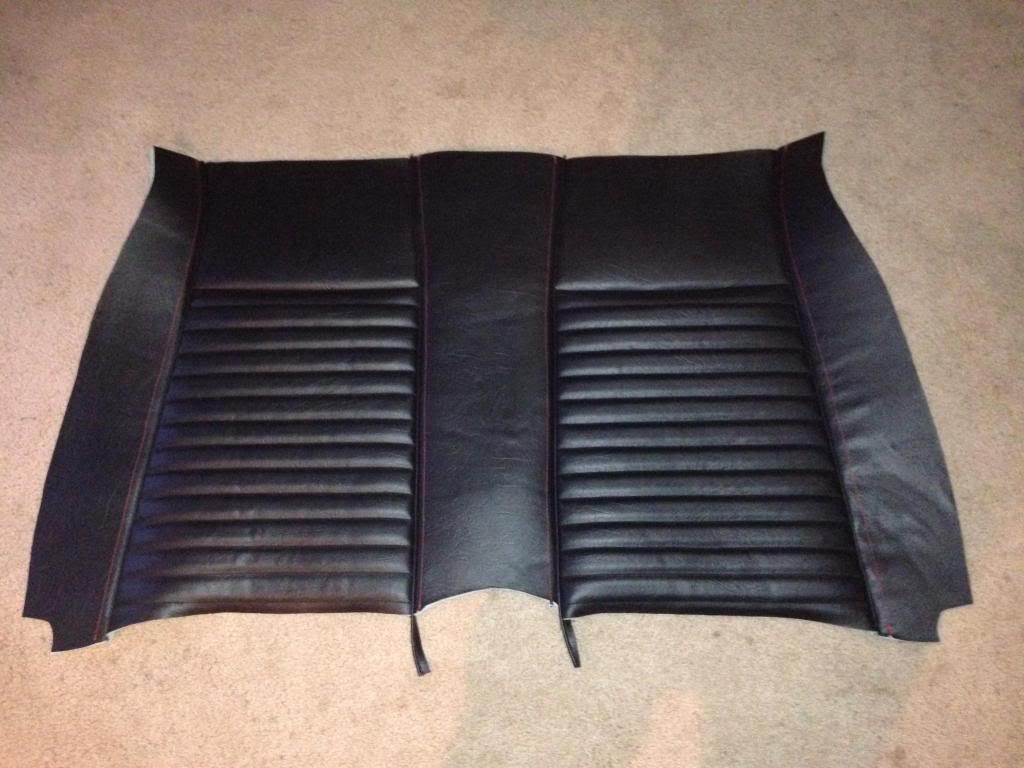  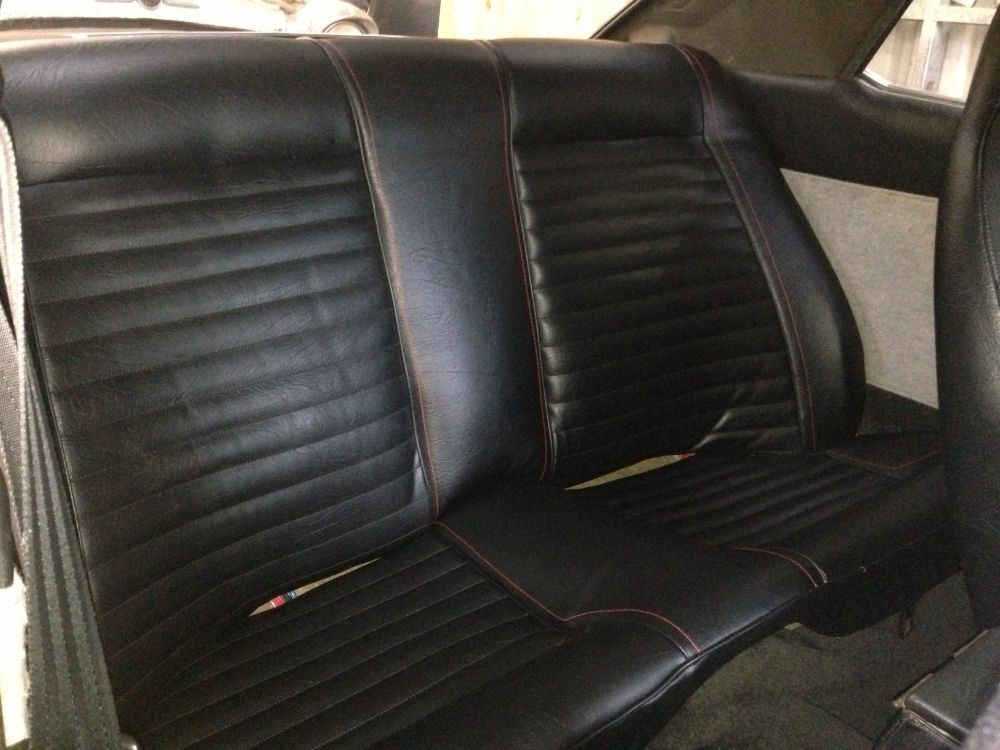 The front bucket seats are getting the original Celica tops put on to them 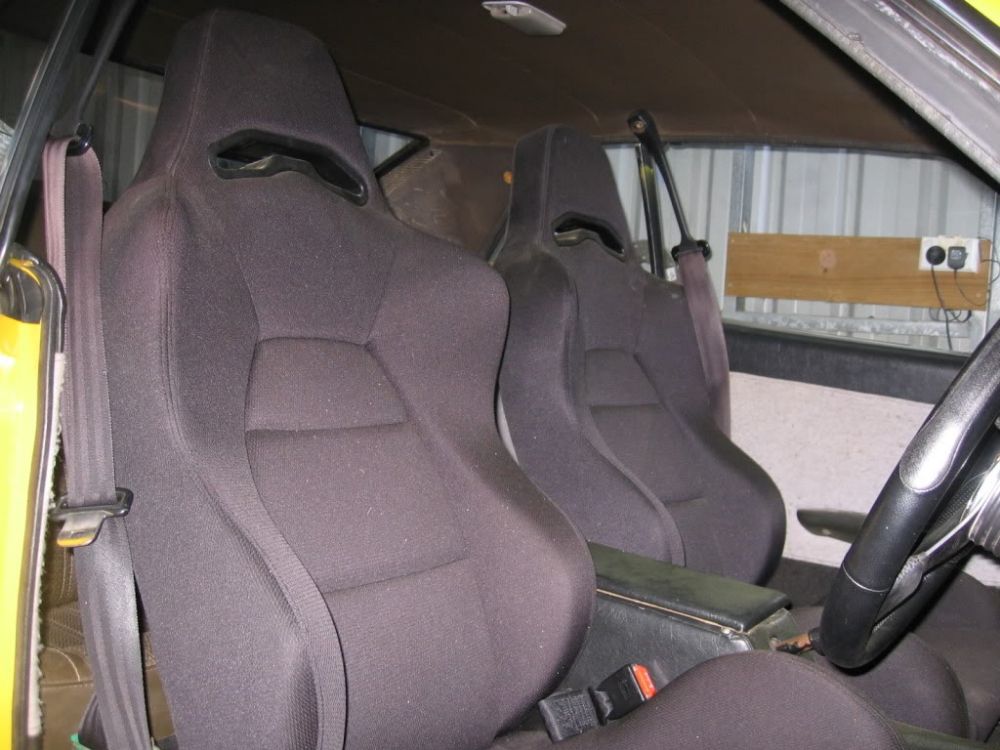 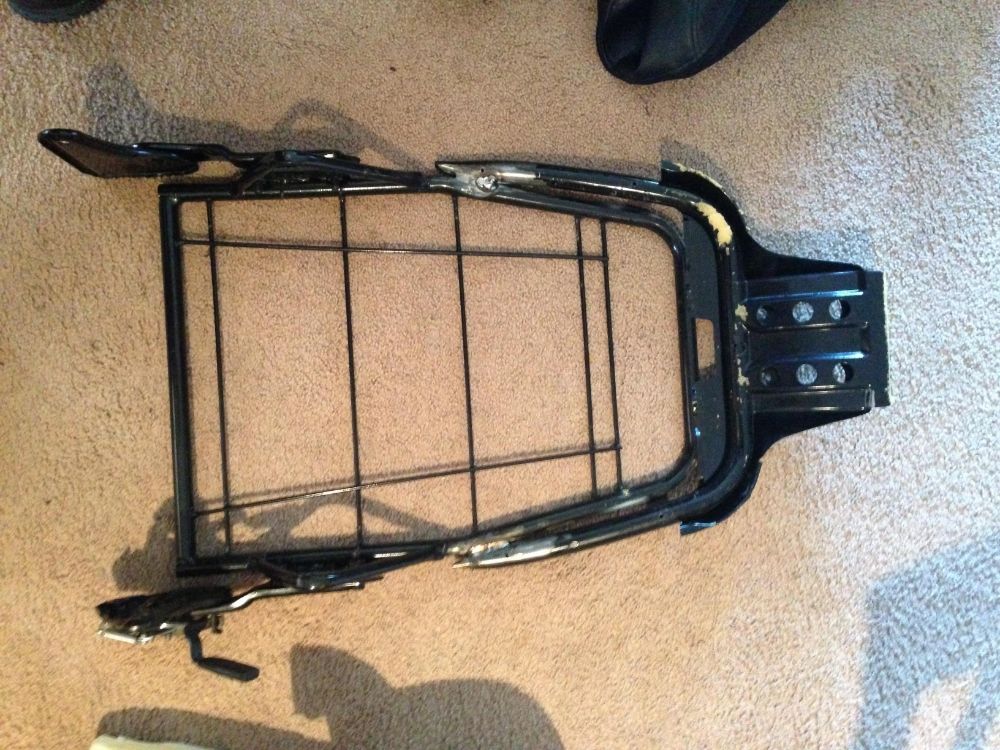 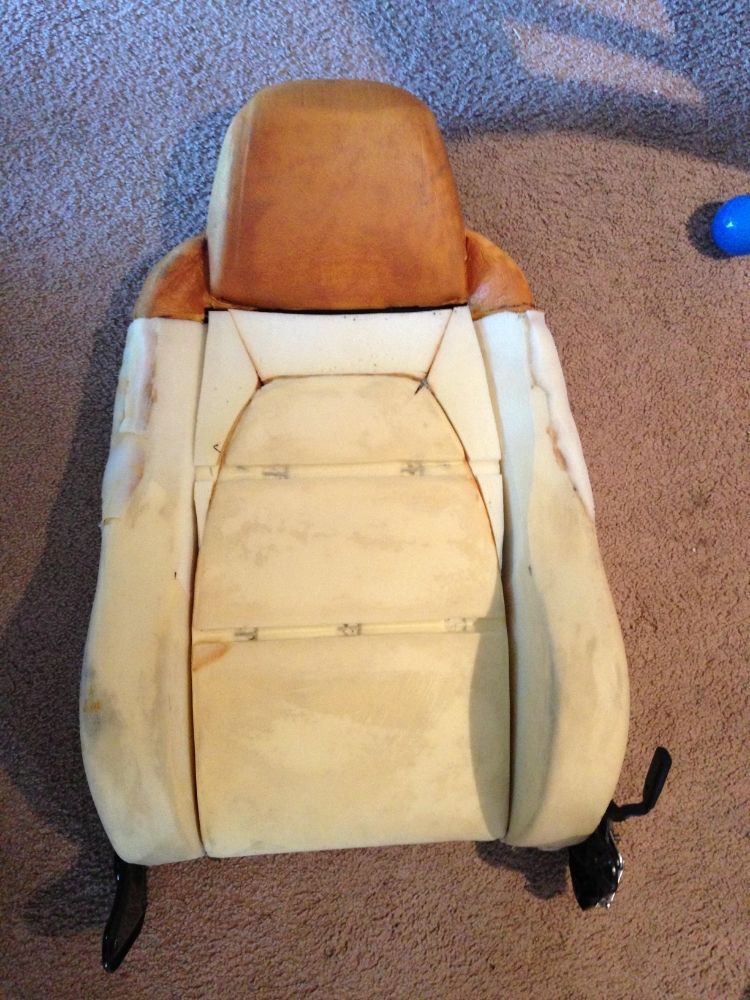 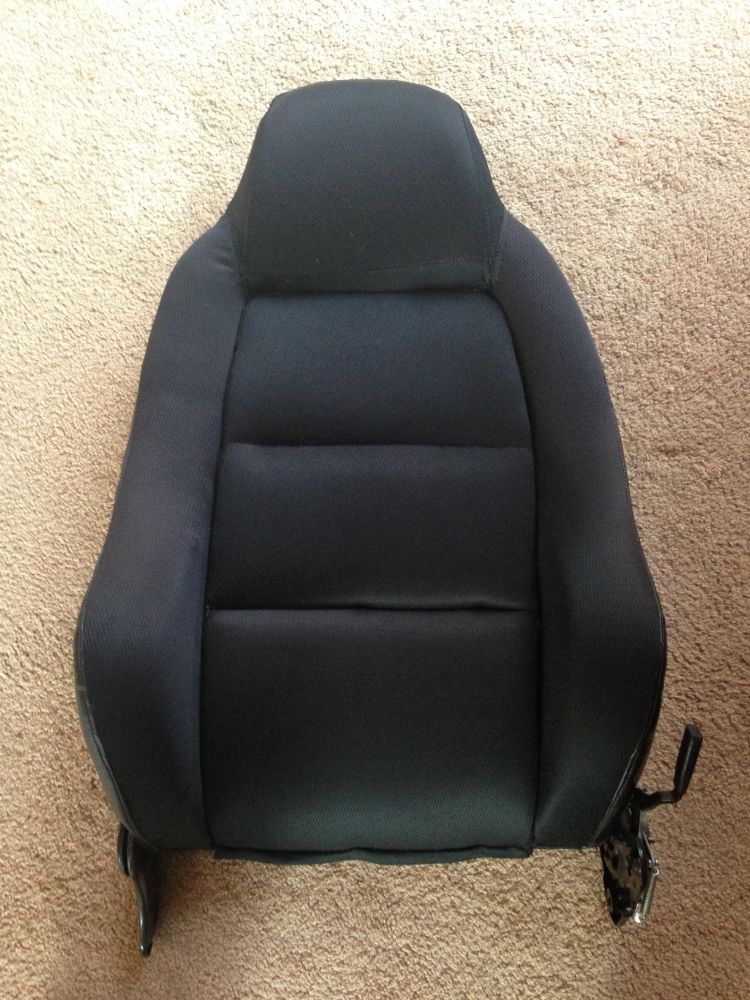 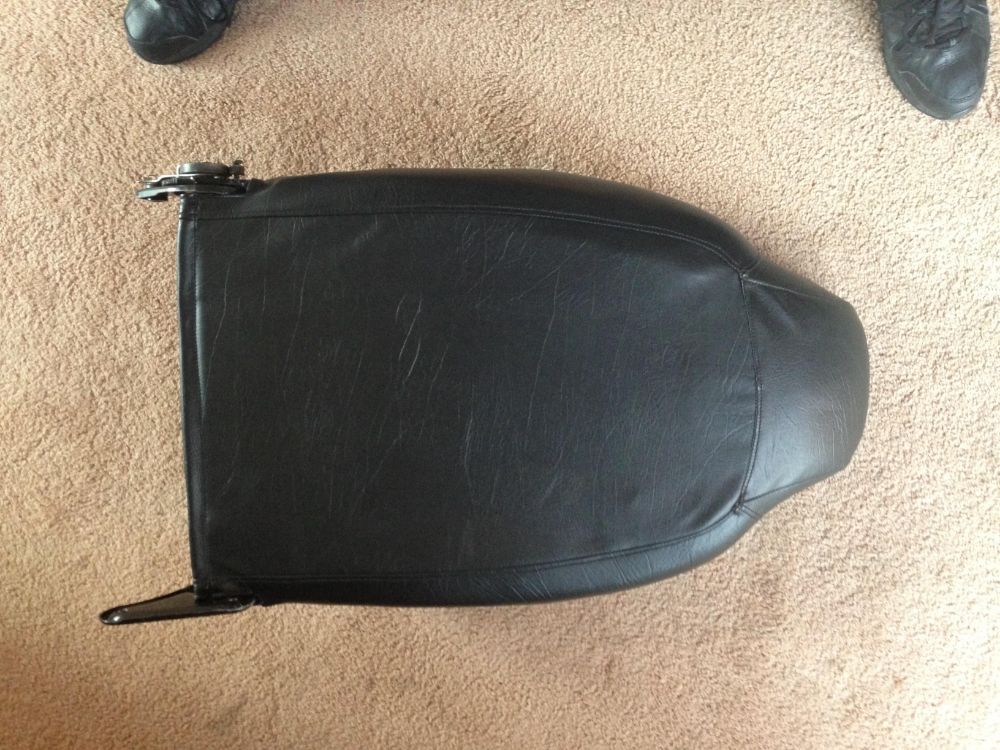 Drivers Door Trim. 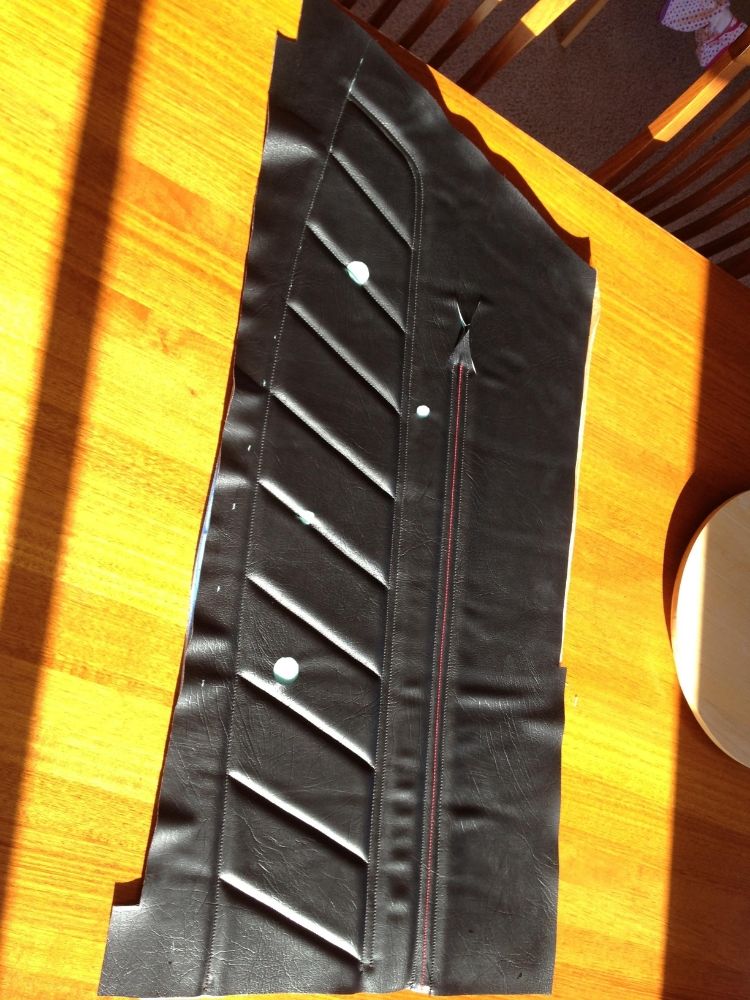 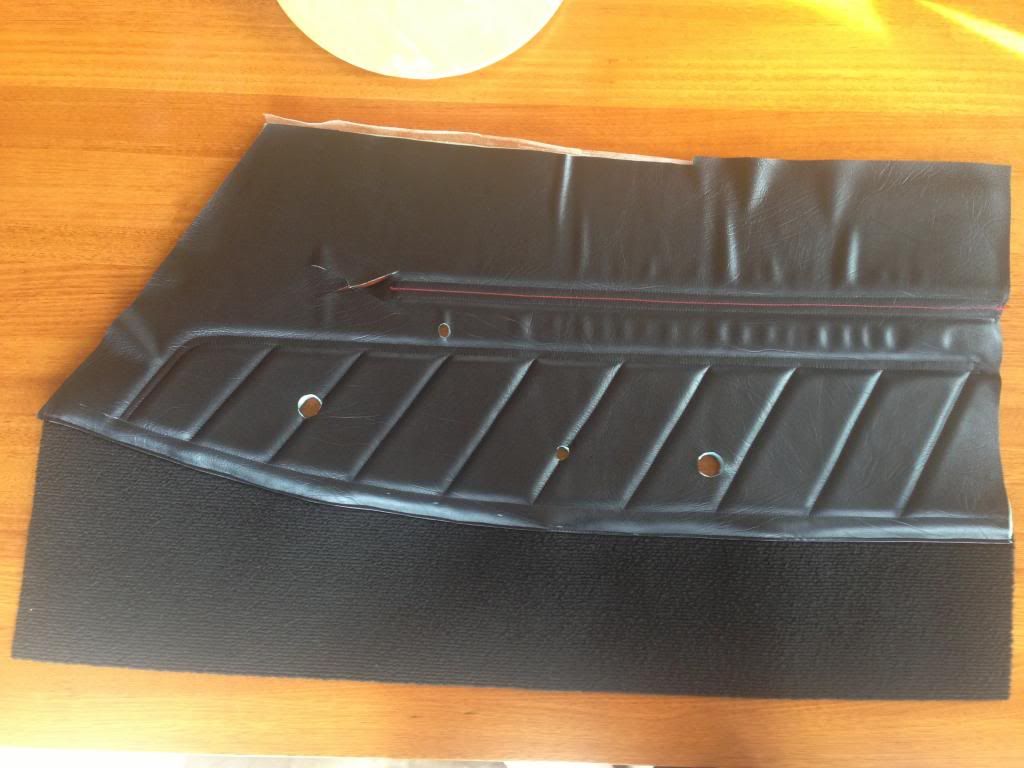 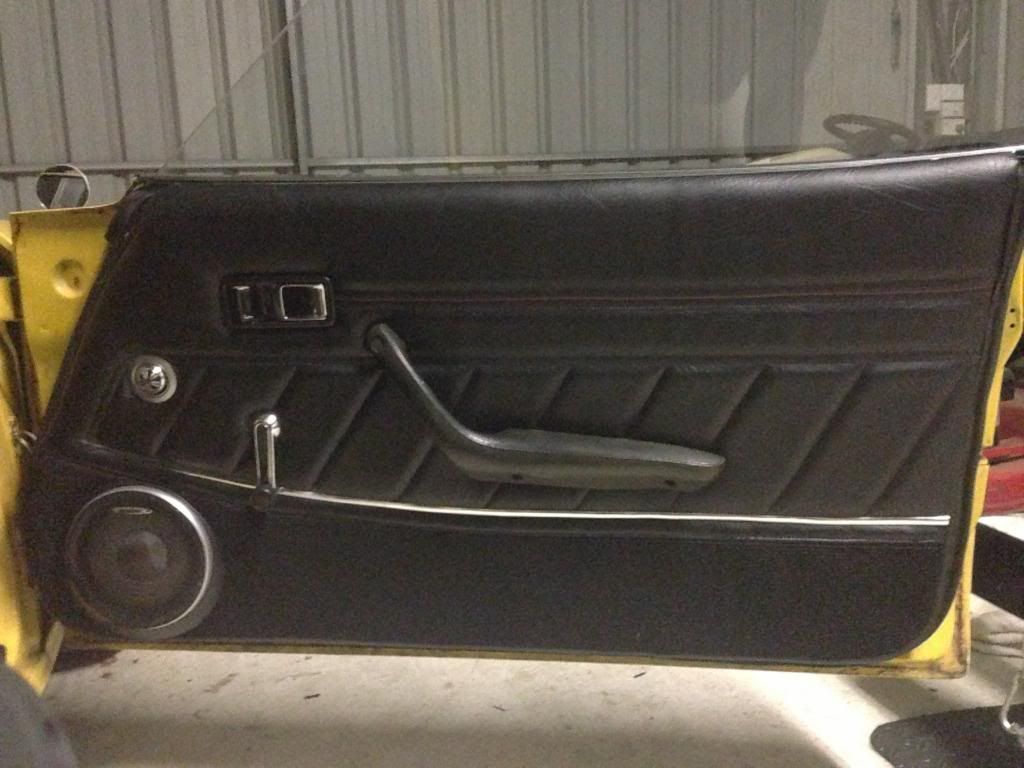 |
|
|
|
Post by lownds888 on Sept 1, 2013 20:04:57 GMT 10
Looking good.
Looks like a lot of work and money have gone into it :-)
|
|
|
|
Post by ta22hp on Sept 4, 2013 19:46:03 GMT 10
God i love your car. Your car is the reason i bought a ta22. I missed quite a few buses while admiring your car. Then when i got my p's and saved up i bought one. Can't wait to see it again. Awesome to see your history.
|
|
|
|
Post by evanta22 on Sept 8, 2013 14:30:45 GMT 10
I just pulled my 4 link rear trailing arms out and they are all slogged out. No wonder the car was handling like a pig. I'm debating what to go with, replacing the Nolathane bushes with new ones or getting rose jointed arms. either way I need to spend money that I don't have.
|
|
|
|
Post by Stoney on Sept 8, 2013 16:16:41 GMT 10
go the bushes the rose joints are for track use only and are noisy as shit
|
|
|
|
Post by evanta22 on Sept 9, 2013 9:56:49 GMT 10
The car is noisy anyway. I will just turn the music up louder so I don't here it. but that been said I think I am going to get the nolathane bushes.
|
|
|
|
Post by Stoney on Sept 11, 2013 15:41:17 GMT 10
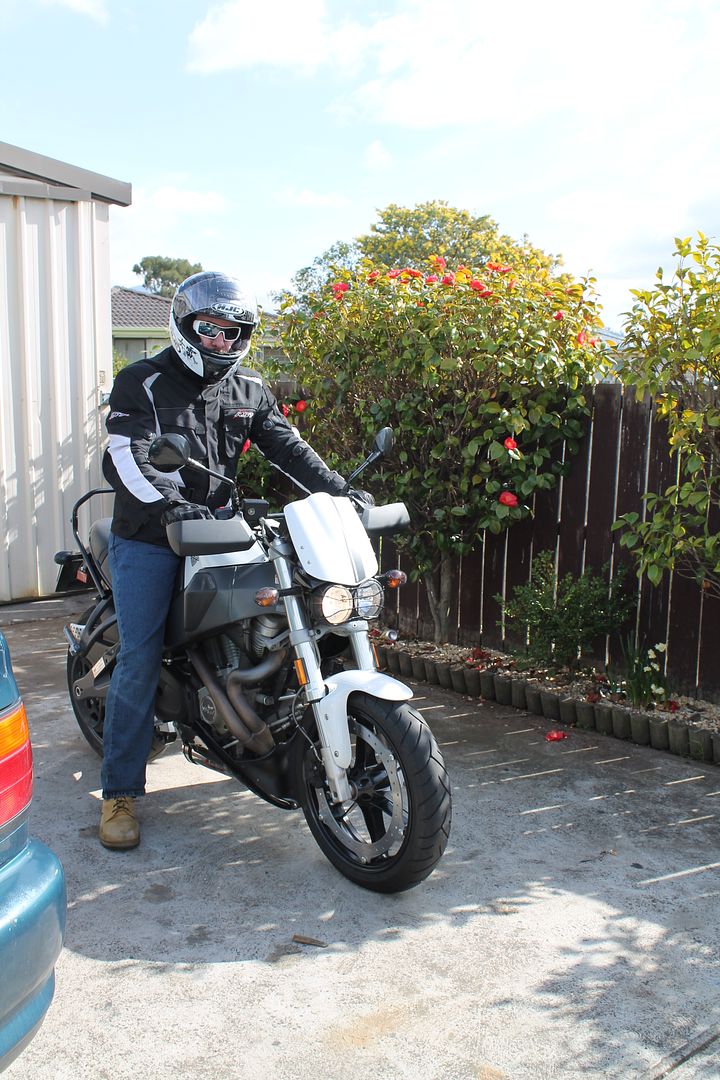
Lol buy a harley like i did then you will know noise hehe
|
|
|
|
Post by evanta22 on Oct 14, 2013 13:35:19 GMT 10
I have been pricing up how much it would be to get a full T3 suspension kit for under my car, If I do some work myself it will cost $2074 +postage ($500) I will have to shorten, and weld on the coil over kit, and cut and weld on the lower control arm heim joint. I will also need a pair of short stroke shocks.
But if I go the other route, everything is just bolt in, $2845. Both options are full heim joint front and rear, and also full coil over front and rear. The coilover for the rear goes where the rear shock mounts and will need to be modified to be strong enough to handle the weight of the car and extra, and the rear spring is no longer needed.
|
|
|
|
Post by celicasupra7m on Oct 14, 2013 17:53:01 GMT 10
those sort of welds on control arms and struts really needs to be done by a pro. If they break you could kill yourself or worse, someone else.
Not sure what your welding skills are but its pretty cheap to get someone like pro fab or az custom to do em.
|
|
|
|
Post by evanta22 on Oct 15, 2013 15:52:15 GMT 10
My dad is an engineer and my brother is a welder fabricator, so I have a good welder to weld them up. But, by the time I add the price of a pair of short stroke shocks and the time stuffing around welding things up it will be easier to get the bolt in option. There is only $771 difference between the two. I think it's a no brainer which one to choose.
|
|
|
|
Post by evanta22 on Oct 17, 2013 15:57:57 GMT 10
I have done the math, and to finish my car to what I want it look like, it will cost me $8000. That is the suspension, Flares and kit to fit them up, bob tail spoiler, Interior, RS Watanabes 14x9.5 -25 and 14x10 -32, plus tyres, and paint to paint the body kit. This is a lot of cash and there is no way I have that money lying around. So the job list will be whitled away slow as I can get the cash. The bad thing is that everything now is very expensive, so the likey hood of these getting done in the near future is nil.
|
|
|
|
Post by ta22hp on Oct 17, 2013 16:32:17 GMT 10
whats the first thing you will save up for?
|
|
|
|
Post by evanta22 on Oct 18, 2013 13:34:51 GMT 10
rear suspension and vinyl for the interior.
|
|
|
|
Post by evanta22 on Oct 25, 2013 8:40:51 GMT 10
My Birthday is coming up soon, and i will be get the rest of the vinyl to finish the interior of my car.
|
|
|
|
Post by evanta22 on Nov 2, 2013 21:00:23 GMT 10
I have my vinyl and the interior work begins.
|
|
|
|
Post by evanta22 on Nov 4, 2013 7:27:54 GMT 10
I have finished one of the bases of the front seats, it's turn out ok. I will post pic's when I'm done.
|
|
|
|
Post by ta22hp on Nov 4, 2013 10:33:59 GMT 10
haha sweet. you could make a little business out of making and selling them if there good
|
|
|
|
Post by evanta22 on Nov 6, 2013 6:45:20 GMT 10
I have thought about that.
|
|